Inventory targeting
Add Inventory targeting Workflow
This section guides you through the workflow for setting the Add Inventory targeting parameters in the Deal Portal.
For field details, see the Data Dictionary for Add Inventory targeting.
Add Inventory Targeting
Follow these steps for setting the Deal Inventory parameters:
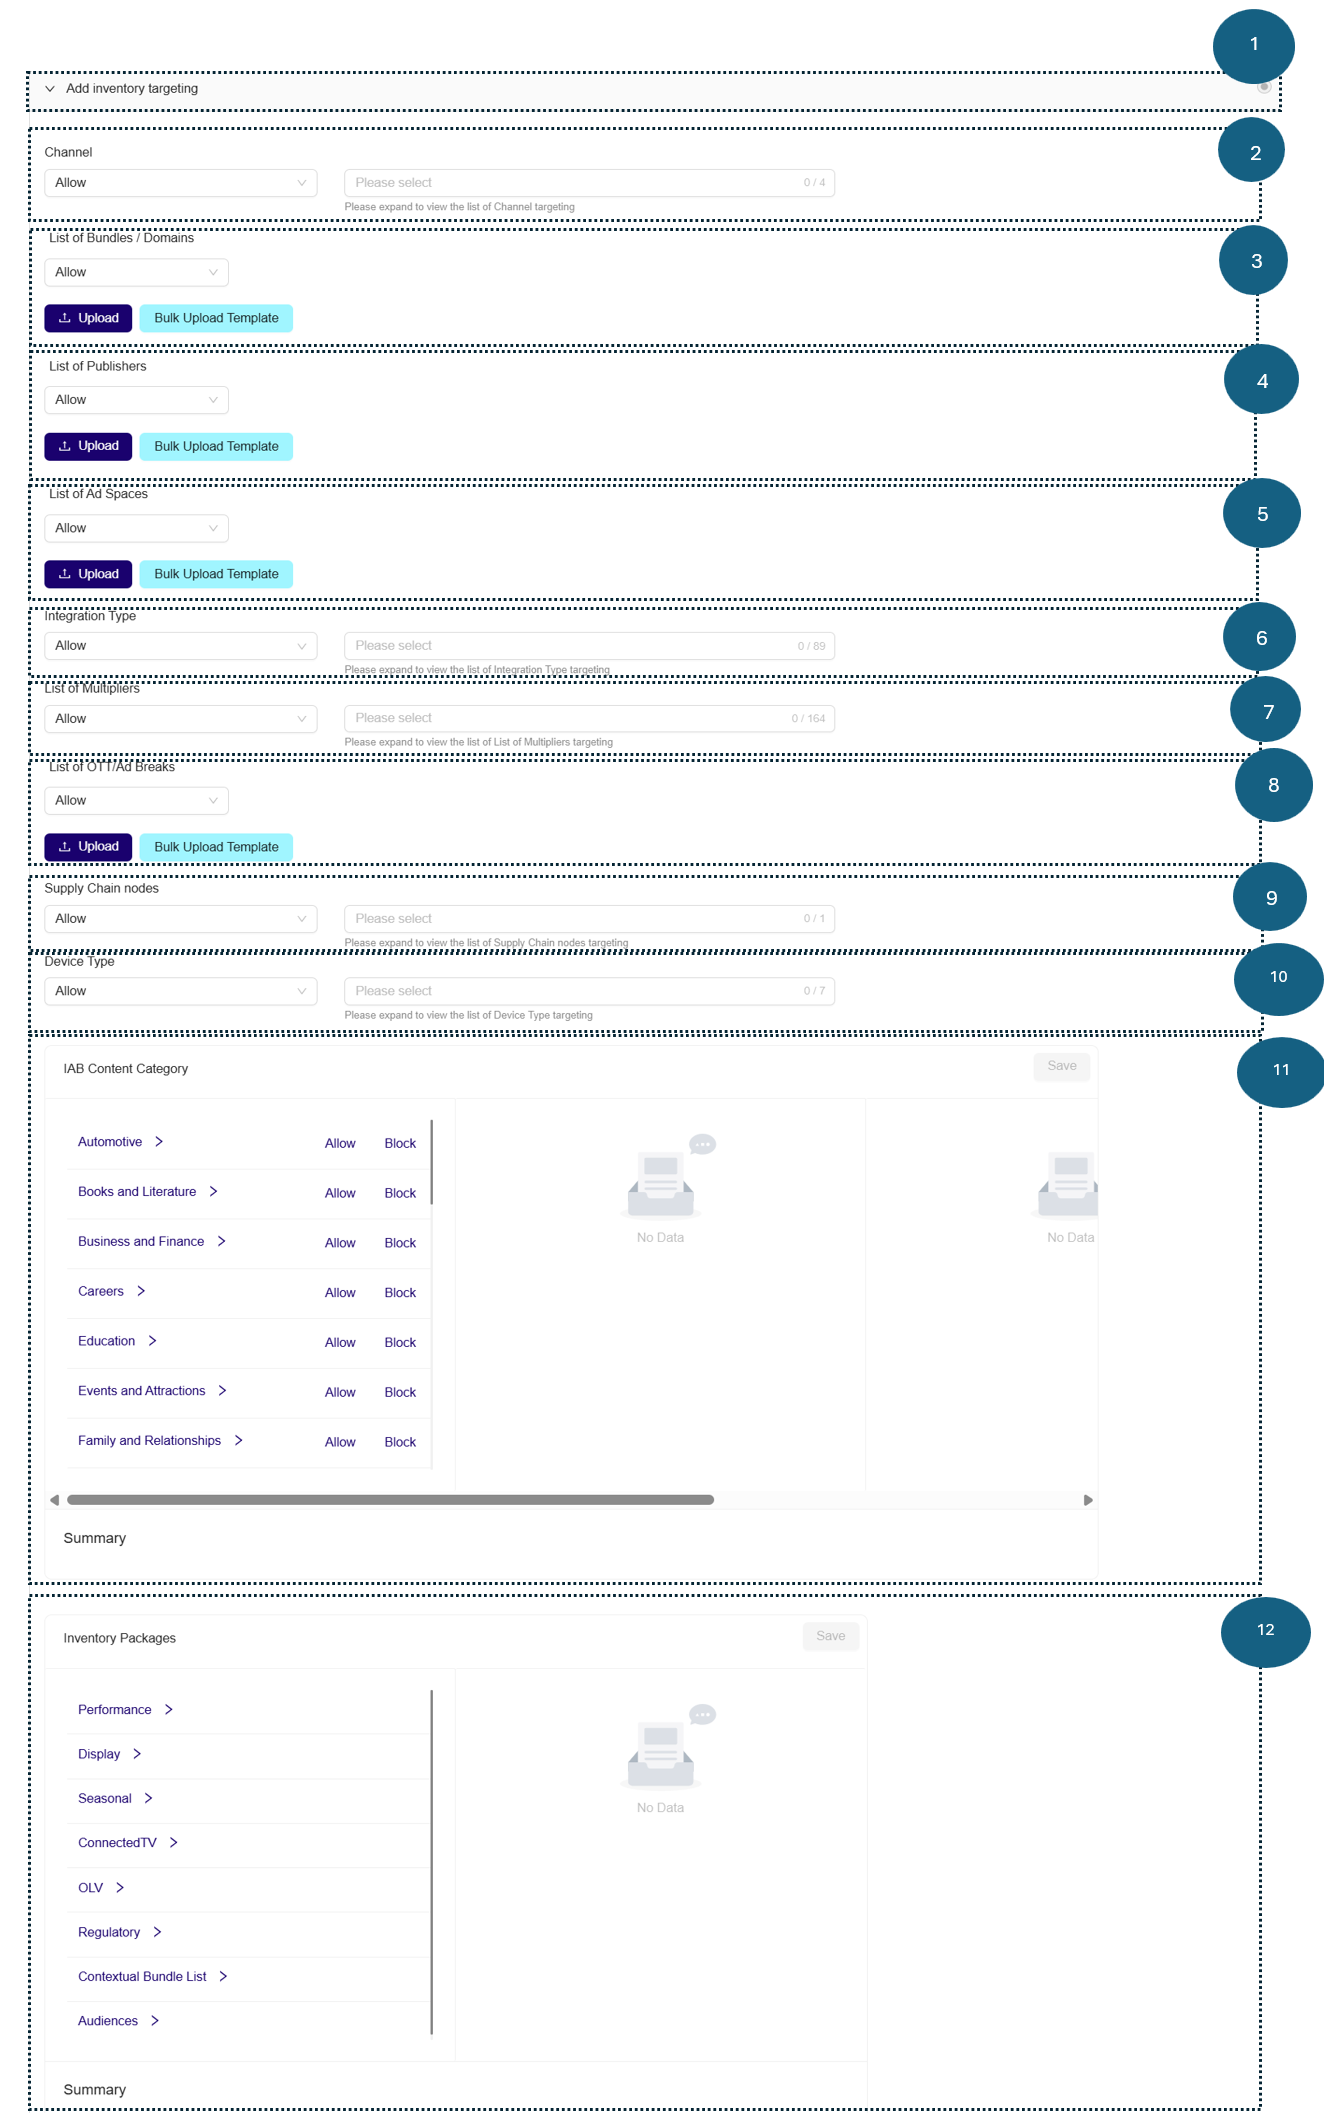
1. Add Inventory targeting
- Click to expand the Add Inventory targeting section. This section allows you to target your deal based on:
- Channel
- List of Bundles/Domains
- List of Publishers
- List of apps
- List of ad spaces
- Integration Type
- List of Multipliers
- List of OTT/Ad Breaks
- Supply Chain nodes
- Device Type
- IAB Content Category
- Inventory Packages
- Bidstream signals
2. Channel
-
From the Channel dropdown, select the Allow option.
-
Allow: Permits your selected channel to display your ads.
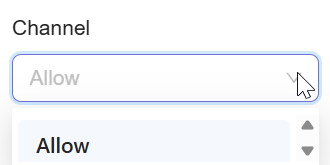
Select Allow option for Channel
-
-
From the dropdown list, select one or more Channel options. This ensures your deal passes downstream to DSPs only for requests from a specific environment.
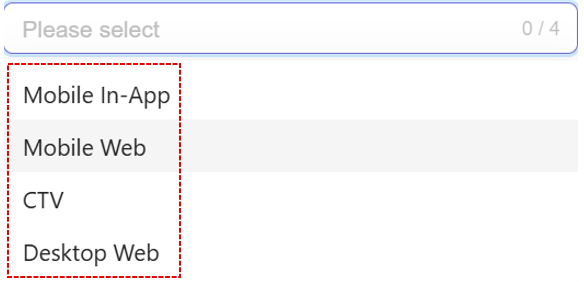
Select Channel option
-
After selecting, the option is automatically added and saved.
-
Remove selections:
-
To remove one option → click x next to it.
-
To remove all options → click Remove All x.
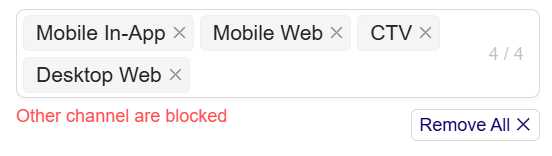
Removed selected Channel option
-
3. List of Bundles / Domains
-
From the List of Bundles / Domains dropdown, select Allow or Block:
-
Allow: Permit selected bundles/domains.
-
Block: Restrict selected bundles/domains.
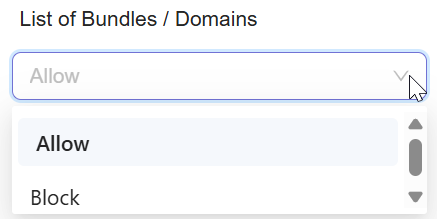
Select Allow or Block option for List of Bundles/Domains
-
-
To add Bundles / Domain IDs:
-
Click Bulk Upload Template to download the targeting template. For more information, see Supply Targeting Upload Template for Bundles/Domains ID.
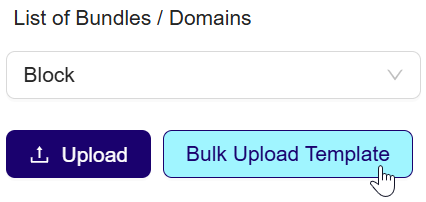
Download the Bundles/Domain IDs template
-
Fill the template with IDs in the correct format.
-
Upload the completed template.
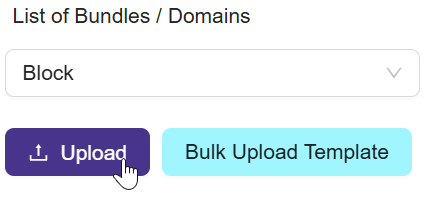
Upload the template
-
-
After upload, you will view a Bundles/Domains – View More label showing the number of IDs uploaded (for example, 17 Bundles/Domains).
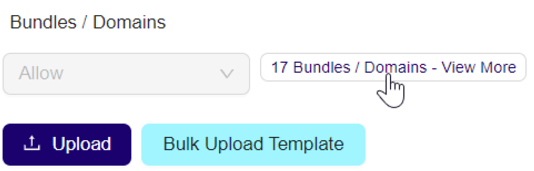
View uploaded Bundle/Domain IDs
-
Click the label to open the Bundles/Domains dialog box. The dialog displays all uploaded Bundle/Domain IDs.
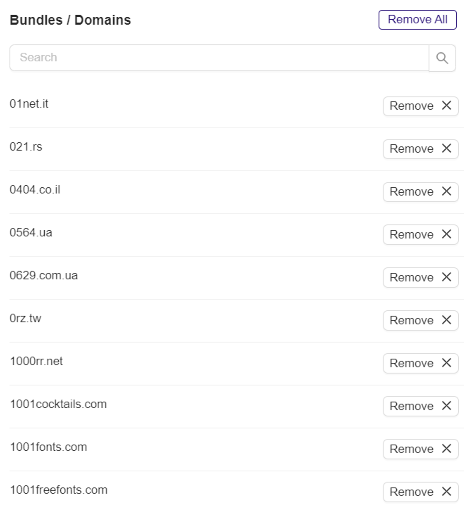
View uploaded Bundle/Domain IDs
- Remove selections:
- Remove individual IDs → click Remove X.
- Remove all IDs → click Remove All.
- Click Update to save changes.
Note:This targeting type operates with Verve identifiers for Bundles/Domain (App can have multiple Ad Spaces assigned). You can get the list of Domain identifiers and Names from the reporting or your designated Account Manager.
4. List of Publishers
-
From the List of Publishers dropdown, select Allow or Block:
-
Allow: Permit selected publishers.
-
Block: Restrict selected publishers.
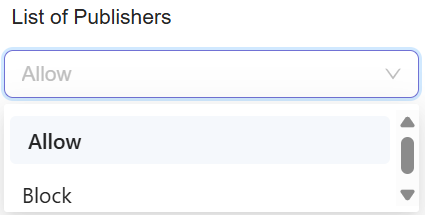
Select Allow or Block option for List of Publishers
-
-
To add Publisher IDs:
-
Click Bulk Upload Template to download the to download the targeting template. For more information on template, see Supply Targeting Upload template for Publisher Supply Targeting Upload Template for Publisher.
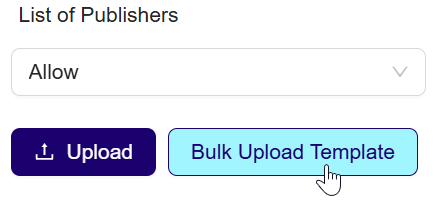
Download the Supply Targeting template
-
Fill the Publisher IDs.
-
Upload the completed template.
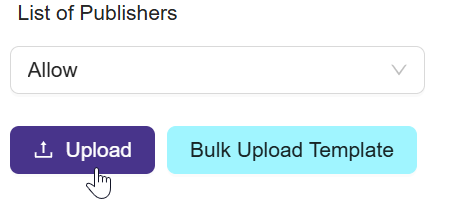
Upload template
-
-
After upload, you will see a Publishers – View More label with count.
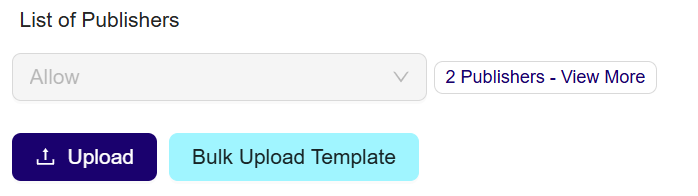
View uploaded Publisher ID
-
Clicking the label opens the Publishers dialog box, showing uploaded Publisher IDs.
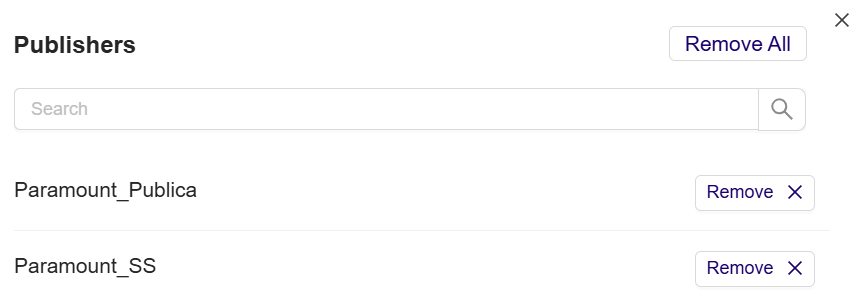
Publisher dialog box
- Remove selections:
- Remove individual IDs → click Remove X.
- Remove all IDs → click Remove All.
- Click Update to save changes.

Display Publisher ID
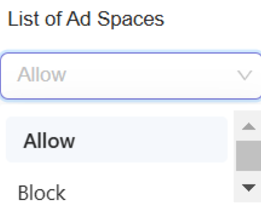
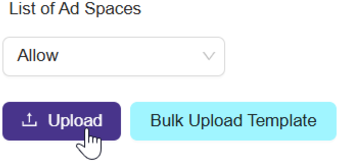
5.List of Ad Spaces*:
-
From the List of Ad Spaces dropdown menu, select the Allow option.
-
Allow: Selecting Allow lets you permit your selected ad spaces to display your ads.
-
Block: Selecting Block lets you restrict your selected ad spaces from displaying your ads.
Select Allow option for List of Ad Spaces
-
-
To add the Ad Space ID, click the Bulk Upload Template button to download the targeting template. For more information, see Supply Targeting Upload Template for Ad Space.
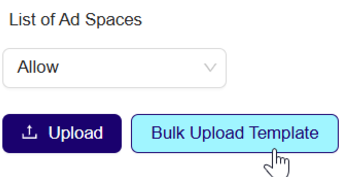
Download the Ad Space ID template
-
Open the downloaded template and fill in the Ad Space ID. Ensure the Ad Space ID is in the correct format; incorrect formatting will result in invalid entries.
-
After filling in the Ad Space ID, click the Upload button. You will view the Ad Space - View More label next to the dropdown menu, indicating the number of Ad Spaces added (for example., 2 Ad Spaces).
Upload the Ad Space IDs template
-
Click the Ad Space label. The Ad Space dialog box will open.
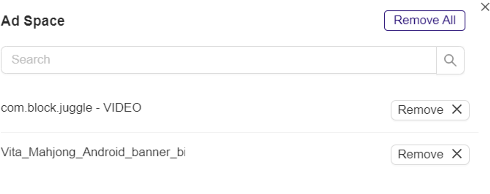
Open the Ad Space IDs dialog box
-
You will view the Ad Space ID.
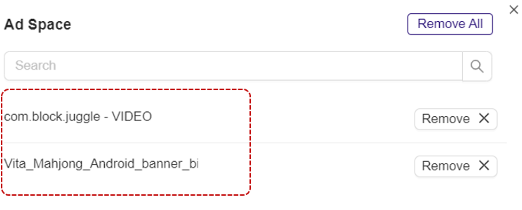
Display Ad Space ID
-
To remove the Ad Space ID, click Remove X corresponding to the Ad Space ID or click the Remove All at the top right of the dialog box.
-
After removing the Ad Space ID, click Update to save the changes.
Note:The Ad Space targeting feature is available only to internal Verve users.
Note:This targeting type operates with Verve identifiers for Ad Spaces (placements within Mobile Apps and Web Domains). You can get the list of Ad Spaces from the reporting or your designated Account Manager.
6.Integration Type:
-
From the Integration Type dropdown menu, select the Allow option.
-
Allow: Selecting Allow lets you permit your selected integration types to be used for serving ads. All other integration types will be blocked by default.
-
Block: Selecting Block lets you exclude your selected integration type from serving your ads. All other integration types will be allowed by default.
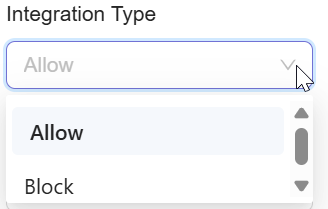
Select Allow or Block option for Integration Type
-
-
From the dropdown list, click to select one or more Integration Type options.
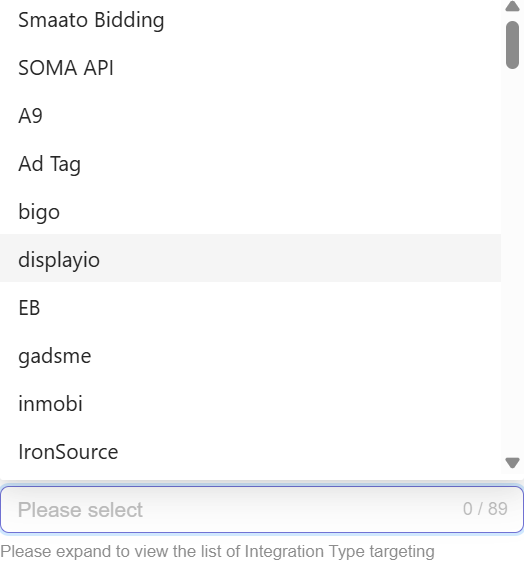
Select the Integration Type Option
-
After you select the Integration Type option, the system will automatically add and save the selected Integration Type option to your deal.
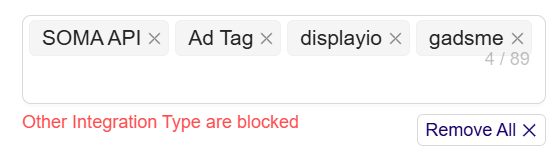
Selected Integration Type ID
-
Remove selected Integration Type option from selection:
- To remove your selected Integration Type option, click x next to selected option.
- To remove all selected Integration Type option, click Remove All x.
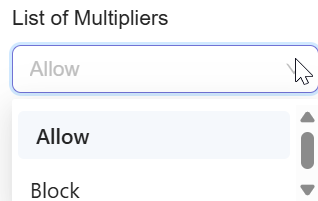
7. List of Multipliers*:
-
From the List of Multipliers dropdown menu.
-
Allow: Selecting Allow lets you permit your selected multipliers for the deal. All other multipliers will be blocked by default.
-
Block: Selecting Block lets you exclude your selected multipliers from the deal. All other multiplier will be allowed by default.

Select Allow or Block option for Multipliers
-
-
From the dropdown list, click to select one or more Multipliers options.
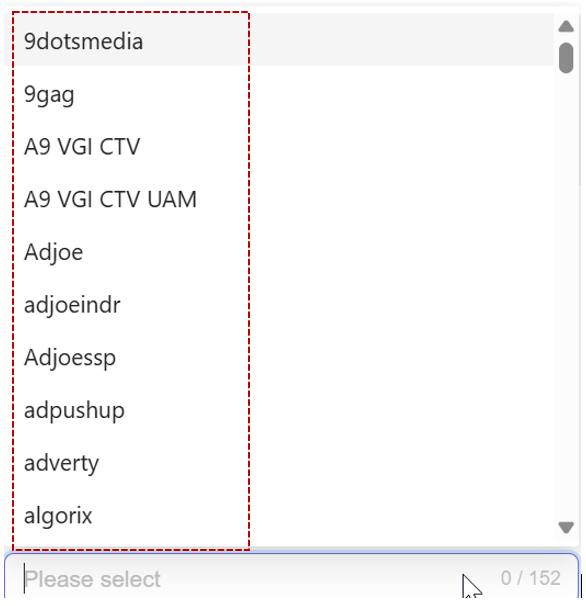
Select the Multipliers Option
-
After you select the Multipliers option, the system will automatically add and save the selected Multipliers option to your deal.
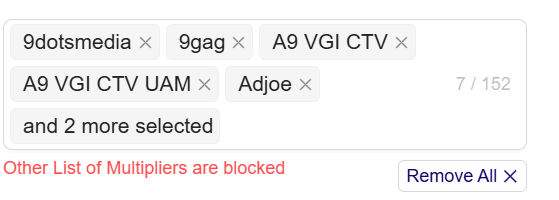
Selected Multiplier Options
-
Remove selected Multiplier option from selection:
- To remove your selected Multiplier option, click x next to selected option.
- To remove all selected Multiplier option, click Remove All x.
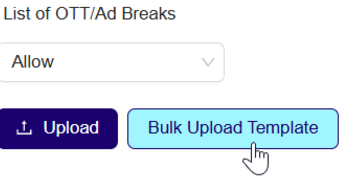
8.List of OTT / Ad Breaks:
-
From the List of OTT / Ad Breaks dropdown menu, select the Allow option.
-
Allow: Selecting Allow lets you permit your selected ad breaks to display on OTT for your ads.
-
Block: Selecting Block lets you restrict your selected ad breaks from display on OTT for your ads.
Select Allow option for List of OTT/Ad Breaks
-
-
To add the Ad Break ID, Click Bulk Upload Template to download the targeting template. For more information on template, see Supply Targeting Upload template.
Download the OTT/Ad Breaks template
-
Open the downloaded template and fill in the ID. Ensure the ID is in the correct format; incorrect formatting will result in invalid entries.
-
After filling in the ID, click Upload.
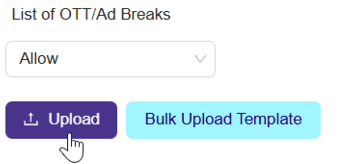
Upload the IDs template
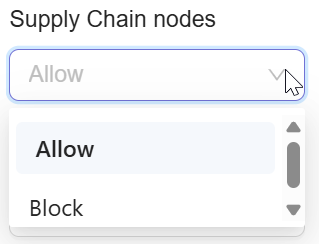
9.Supply Chain nodes
-
From the SupplyChain nodes dropdown menu, select the Allow option.
-
Allow: Selecting Allow permits only the selected nodes at the chosen hop depth; all others are blocked by default.
-
Block: Selecting Block restricts selected nodes at the chosen hop depth; all others remain allowed by default.
Select Allow or Block option for Supply Chain nodes
-
-
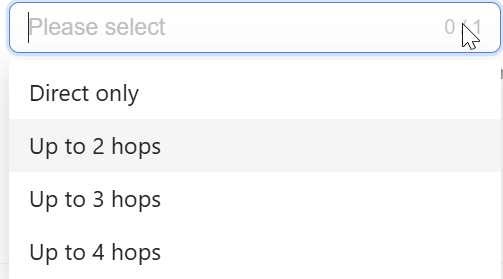
From the Supply Chain nodes dropdown, click to select any one option.
-
Direct only – includes only direct sellers (hop 1).
-
Up to 2 hops – includes requests with up to 2 intermediaries.
-
Up to 3 hops – includes requests with up to 3 intermediaries.
-
Up to 4 hops – includes requests with up to 4 intermediaries.
Choose Supply Chain Nodes option
-
-
As a result, your deal will pass downstream to DSPs only for requests that have a specific SPO path, either direct, or have a specific number of intermediaries.
-
If you select Direct only, only direct supply (no intermediaries) is included.
-
If you select a hop depth (e.g., Up to 3 hops), the deal includes requests with the specified number of intermediaries in the chain.

Select Supply Chain nodes option
-
-
After you select the Number of Supply Chain nodes option, the system will automatically add and save the selected Supply Chain nodes option to your deal.
-
Remove selected Number of Supply Chain nodes option:
-
To remove your selected Supply Chain nodes option, click x next to it.
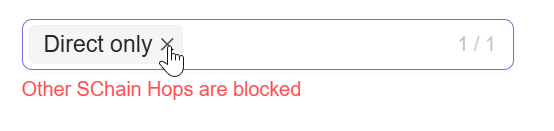
Remove selected Supply Chain nodes
-
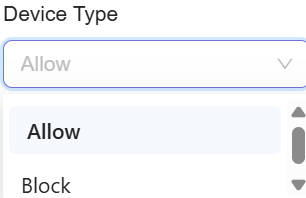
10.Device Type
-
From the Device Type dropdown menu.
-
Allow: Selecting Allow lets you permit your selected device type for the deal. All other device type will be blocked by default.
-
Block: Selecting Block lets you exclude your selected device type from the deal. All other device type will be allowed by default.
Select Allow or Block option for Device Type
-
-
From the dropdown list, click to select one or more Device Type options.
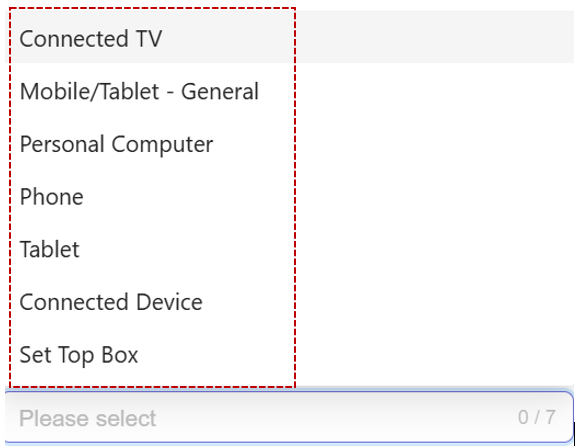
Select the Device Type Option
-
After you select the Device Type option, the system will automatically add and save the selected Device Type option to your deal.
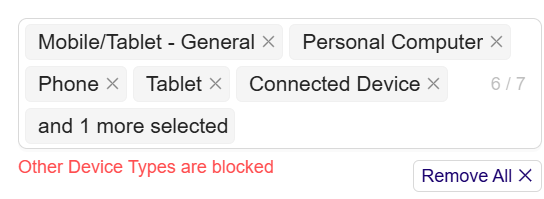
Selected Device Type Options
-
Remove selected Device Type option from selection:
- To remove your selected Device Type option, click x next to selected option.
- To remove all selected Device Type option, click Remove All x.
11. IAB Content Category
-
Navigate to the IAB Content Category, You’ll see top-level IAB Content categories in the left pane and two empty panes on the right.
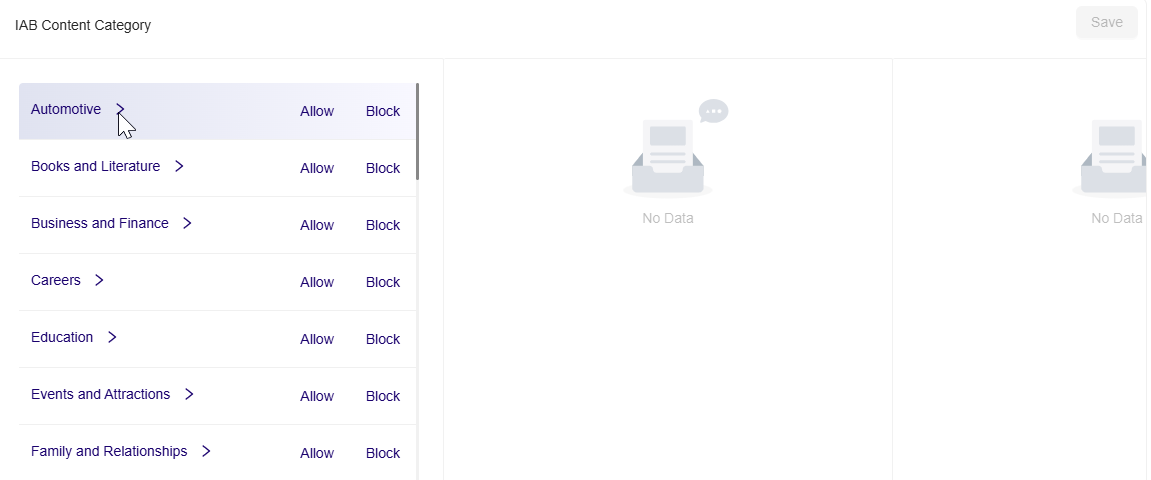
View top level IAB Content Category
-
Click > next to Automotive. The middle pane loads Automotive sub-categories (for example, Auto Body Styles, Auto Type, Car Culture, etc.). The rightmost pane is still empty.
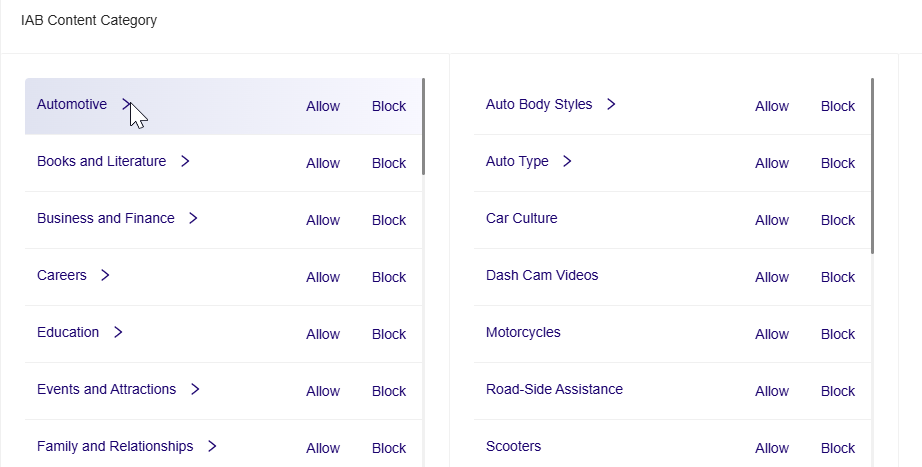
View IAB Content Sub-Categories list
-
Click Allow for Automotive (parent level). The Summary shows:
Automotive — Allowed.
All child sub-categories of Automotive are included by default (i.e., treated as allowed unless you explicitly change them).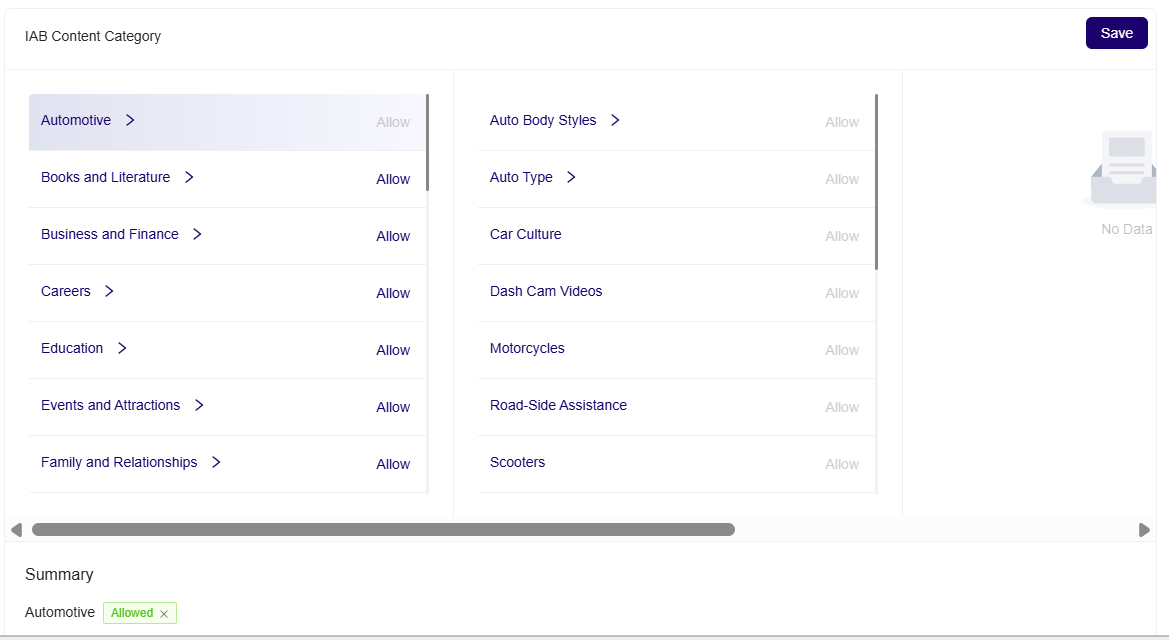
Allowed IAB Content Category
-
Click Block for Automotive (parent level). The Summary shows:
Automotive — Blocked.
All child sub-categories of Automotive are excluded by default (i.e., treated as allowed unless you explicitly change them).
Blocked IAB Content Category
-
Click a sub-category (for example, Auto Body Styles) to reveal its leaf items in the rightmost pane (for example, Commercial Trucks, Sedan, SUV, etc.).
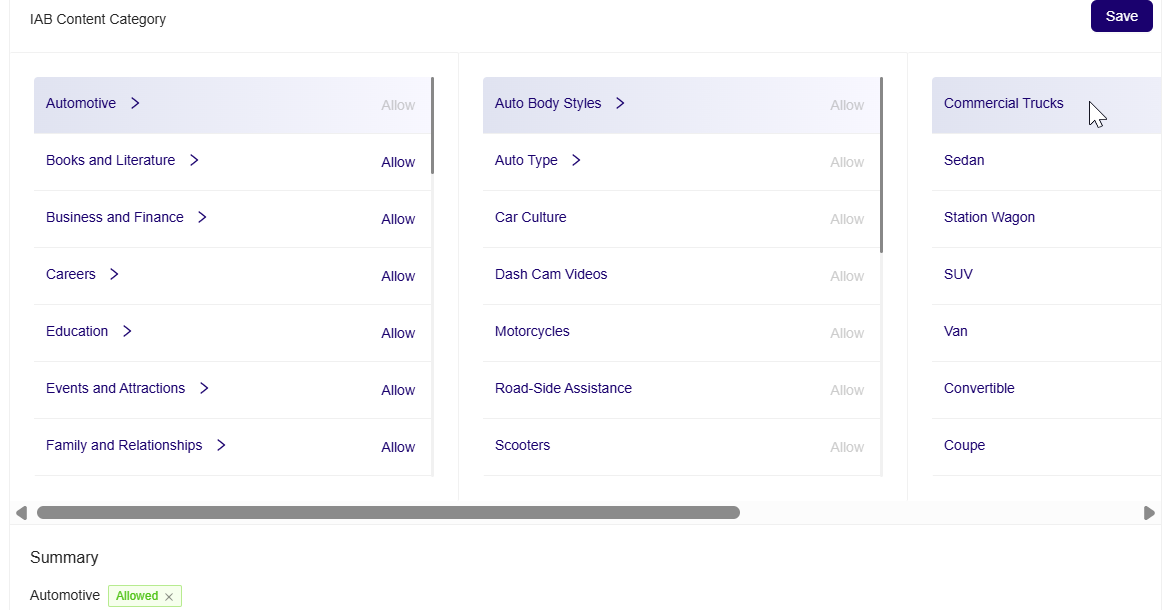
Allowed IAB Content Categories (Optional)
-
Selecting Allow on a sub-category in the middle pane includes only that sub-category (and its leaf items) and excludes the other sub-categories under the same parent by default.
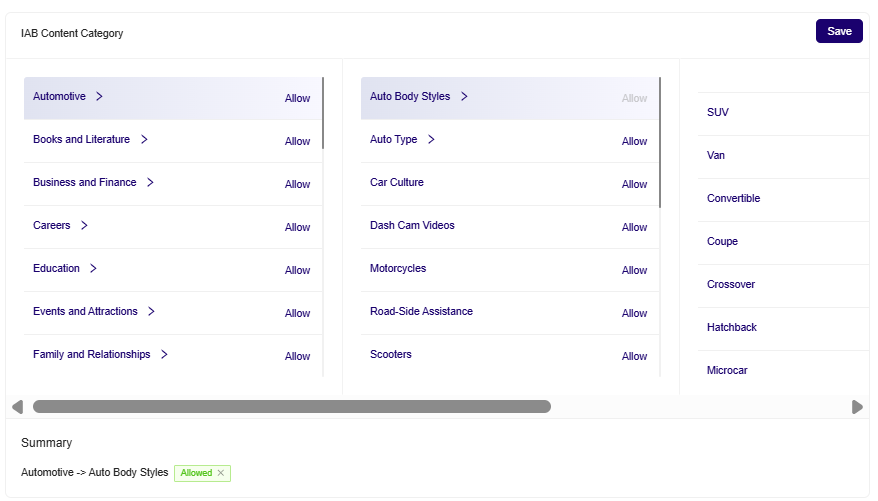
Including sub-category and its leaf items
-
Selecting Block on a sub-category excludes only that sub-category (and its leaf items) and includes the other sub-categories under the same parent by default.
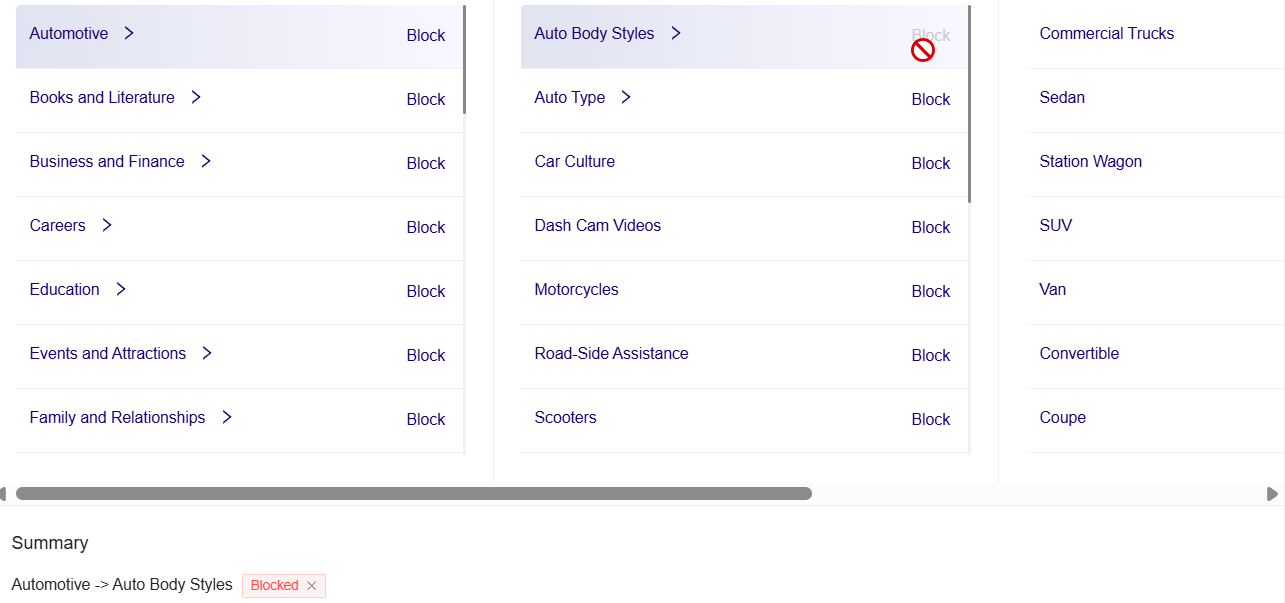
Excluding sub-category and its leaf items
-
Review the Summary section for any change and Click Save.
-
To reset the IAB Content Category selection, click the Allowed x / Blocked x in the Summary section.
12.Inventory Packages:
-
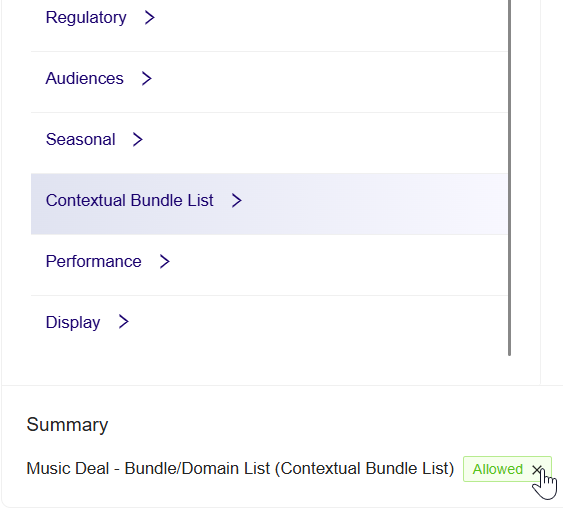
On the left-hand side, choose a relevant inventory category (for example, Contextual Bundle List, Seasonal, Audiences, etc.).In this example, Contextual Bundle List is selected.
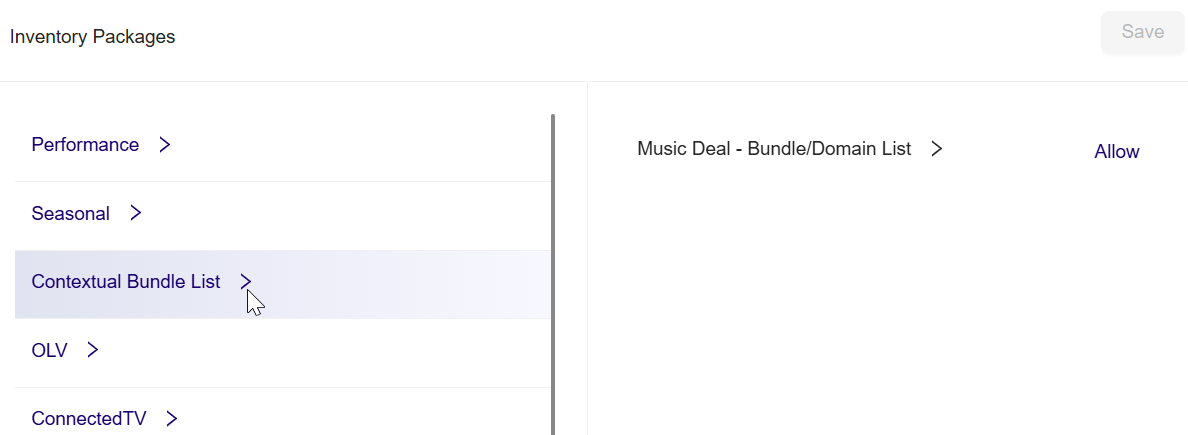
Select a category
-
Once a category is selected, the corresponding inventory packages are displayed on the right.
View sub-categories
-
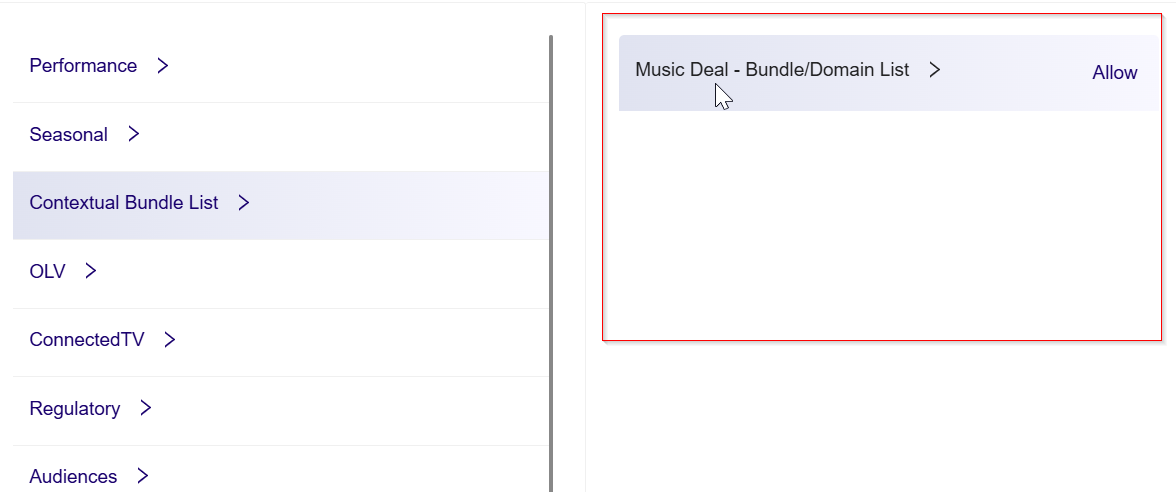
Click Allow on the desired package (for example, Music Deal – Bundle/Domain List) to explicitly allow traffic from the selected inventory package.
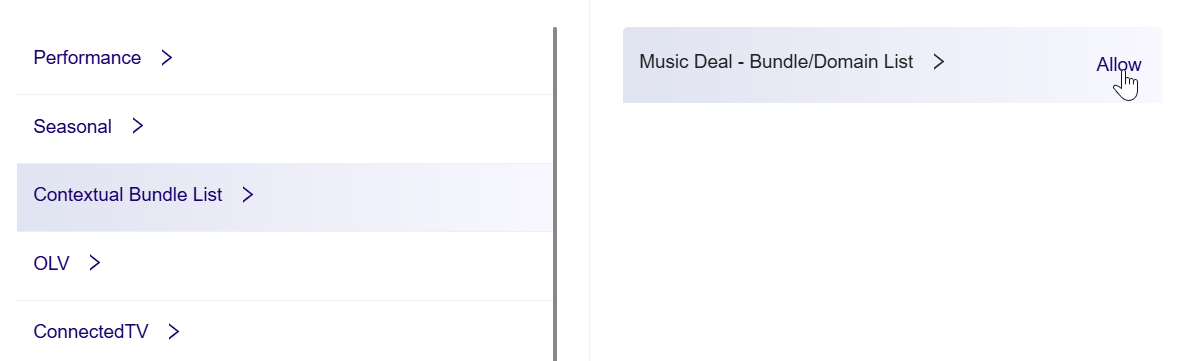
Set Targeting Mode
-
After setting the mode, the selection appears in the Summary section at the bottom.
-
The Summary section shows:
- Package name (e.g., Music Deal - Bundle/Domain List)
- Category (e.g., Contextual Bundle List)
- Status (e.g., Allowed)
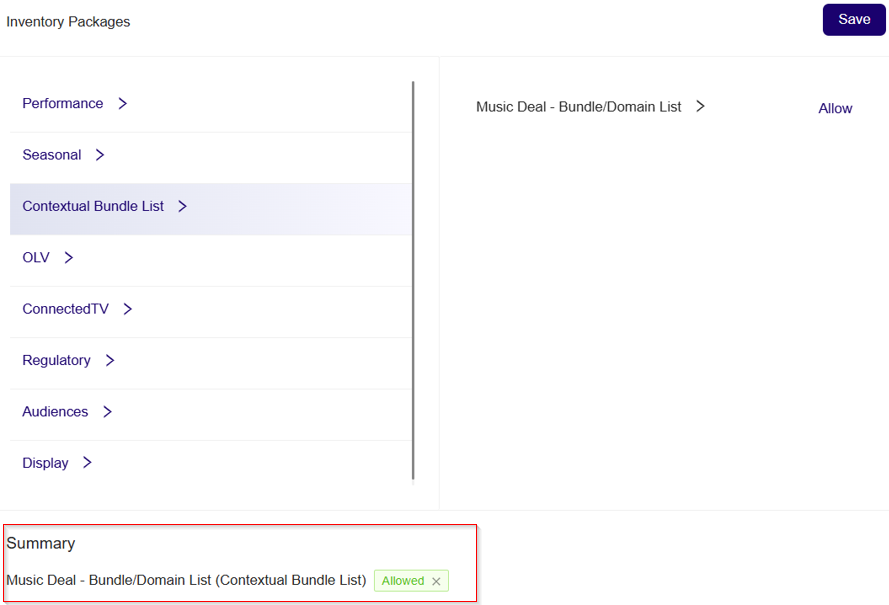
Review Summary
-
Click Save at the top right of the section to apply your changes.
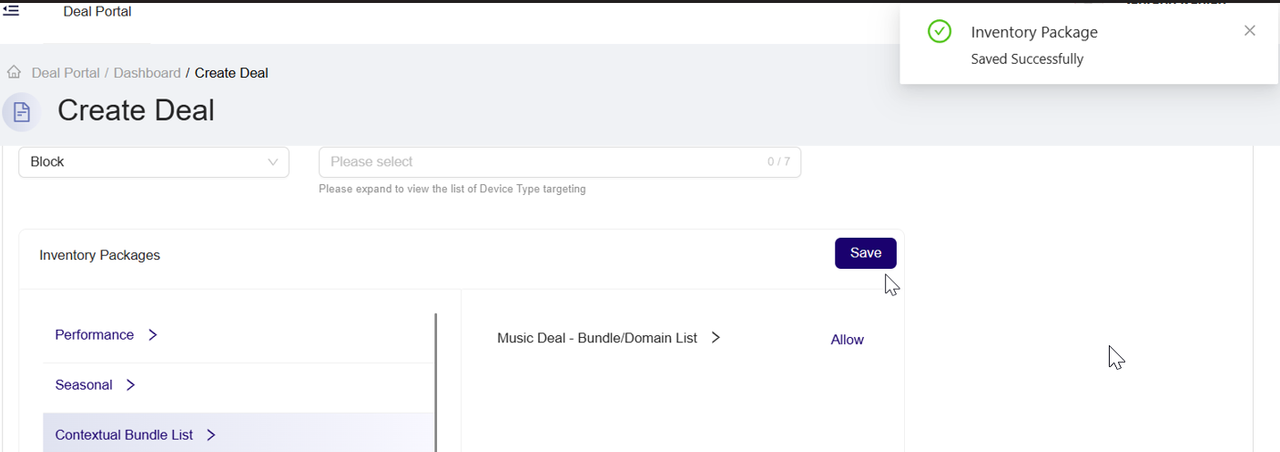
Save configuration
-
Remove selected Inventory Package option from selection:
-
To remove your selected Inventory Package option, Click the Allowed X button.
Remove selected inventory option
-
13. Bidstream Signals*
-
From the Bidstream Signals dropdown menu, select the Allow or Block option.
-
Allow: Selecting Allow lets you permit your selected Bidstream Signals to serve your ads.
-
Block: Selecting Block lets you restrict your selected Bidstream Signals from serving your ads.
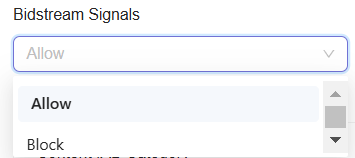
Select Allow or Block option for Bidstream Signals
-
-
From the dropdown list, click to select one or more Bidstream Signals option. As a result, your deal will pass downstream to DSPs only for requests that are addressable (have device IDs) or enable geolocation (contain GPS latitude and longitude data signals). You can select from the following options:

Select Bidstream Signals option
-
After you select the Bidstream Signals option, the system will automatically add and save the selected Bidstream Signals option to your deal.
-
Remove selected Bidstream Signals option:
- To remove your selected Bidstream Signals option, click the X next to it.
Note:If you select Allow, the system allows only the chosen option and blocks all others by default. Conversely, if you select Block, the system blocks only the chosen option and allows all others by default.
If you are unsure which model to select, you can proceed with the default Min Price option.
ImportantThe targeting dimension marked with an asterisk (*) will be hidden from the Deal Portal user interface for new deals starting June 19, 2025. Deals created prior to this date using these targeting will continue to run, but it will not be available for Mobile In-App traffic. As a result, these dimensions will not be available or targetable for new deals in the Deal Portal user interface