GAD (AdMob) Mediation
To use HyBid SDK directly in GAD (AdMob) Mediation you will need to integrate the Google Mobile Ads SDK and the HyBid SDK into your app.
Integrate Google Mobile Ads SDK
To integrate Google Mobile Ads SDK into your app you should follow the instructions in their website.
Integrate HyBid SDK
To integrate the HyBid SDK follow the instruction in the integration page.
Integrate The GAD (AdMob) Adapter
There are 2 ways that you can install Google Mobile Ads Adapters into your application;
1. Drag & Drop Adapter Files
To use the GAD (AdMob) Adapter in your project, head over to Google Mobile Ads HyBid Adapters repository and import all the adapter files to your project.
Swift Integration
To use the GAD (AdMob) Adapter in your Swift project, ensure that you have a Bridging Header file in your project and the Objective-C Bridging Header build setting under Swift Compiler - Code Generation has a path to the header
2. Cocoapods
If you're using CocoaPods, you can add the adapters to your project using Podfile. Check the listed repository for a detailed integration guide for Google Mobile Ads HyBid adapters.
Demo App
You can find a demo app with code samples for this type of integration here.
Set up the placements on GAD (AdMob) Dashboard
To set up the HyBid Adapters in the GAD (AdMob) mediation you need to follow a few steps.
If you already have an app and ad units created then you can skip these steps.
Create an App
Create a new app in the GAD (AdMob) Dashboard

If your app is published you can look it up using the package name from the App Store.
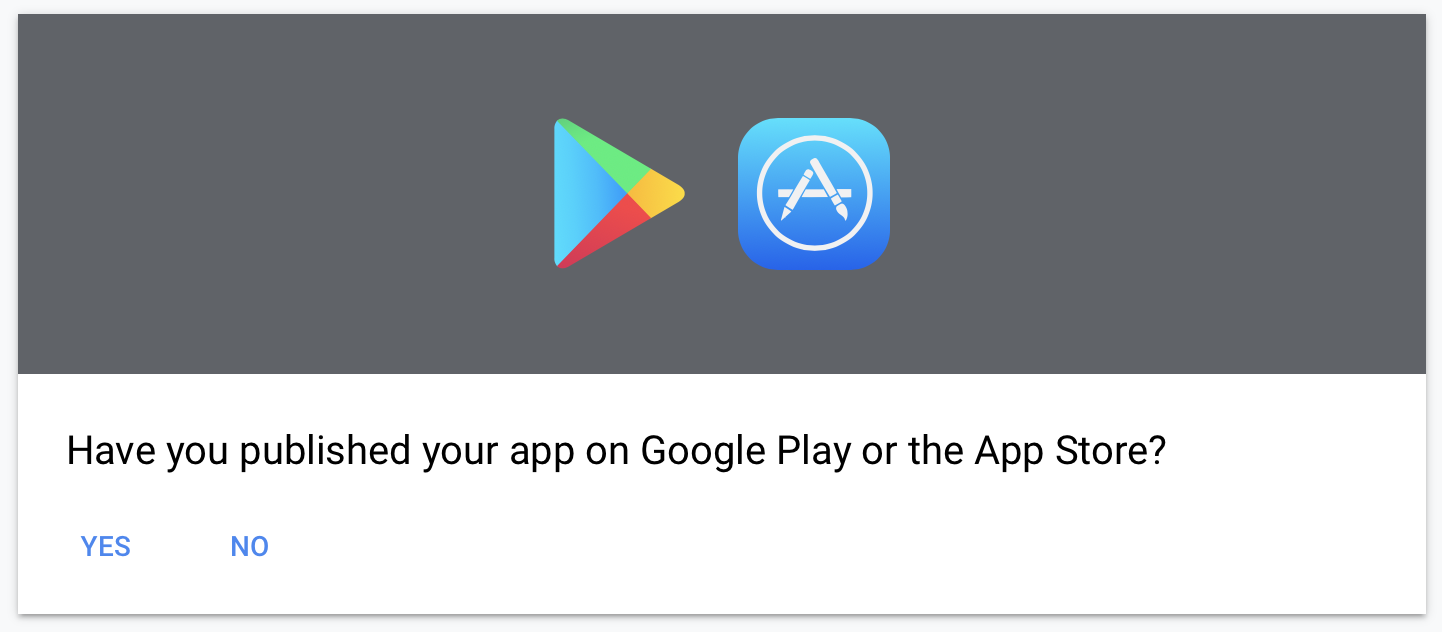
Otherwise just enter the basic information on the dialog.
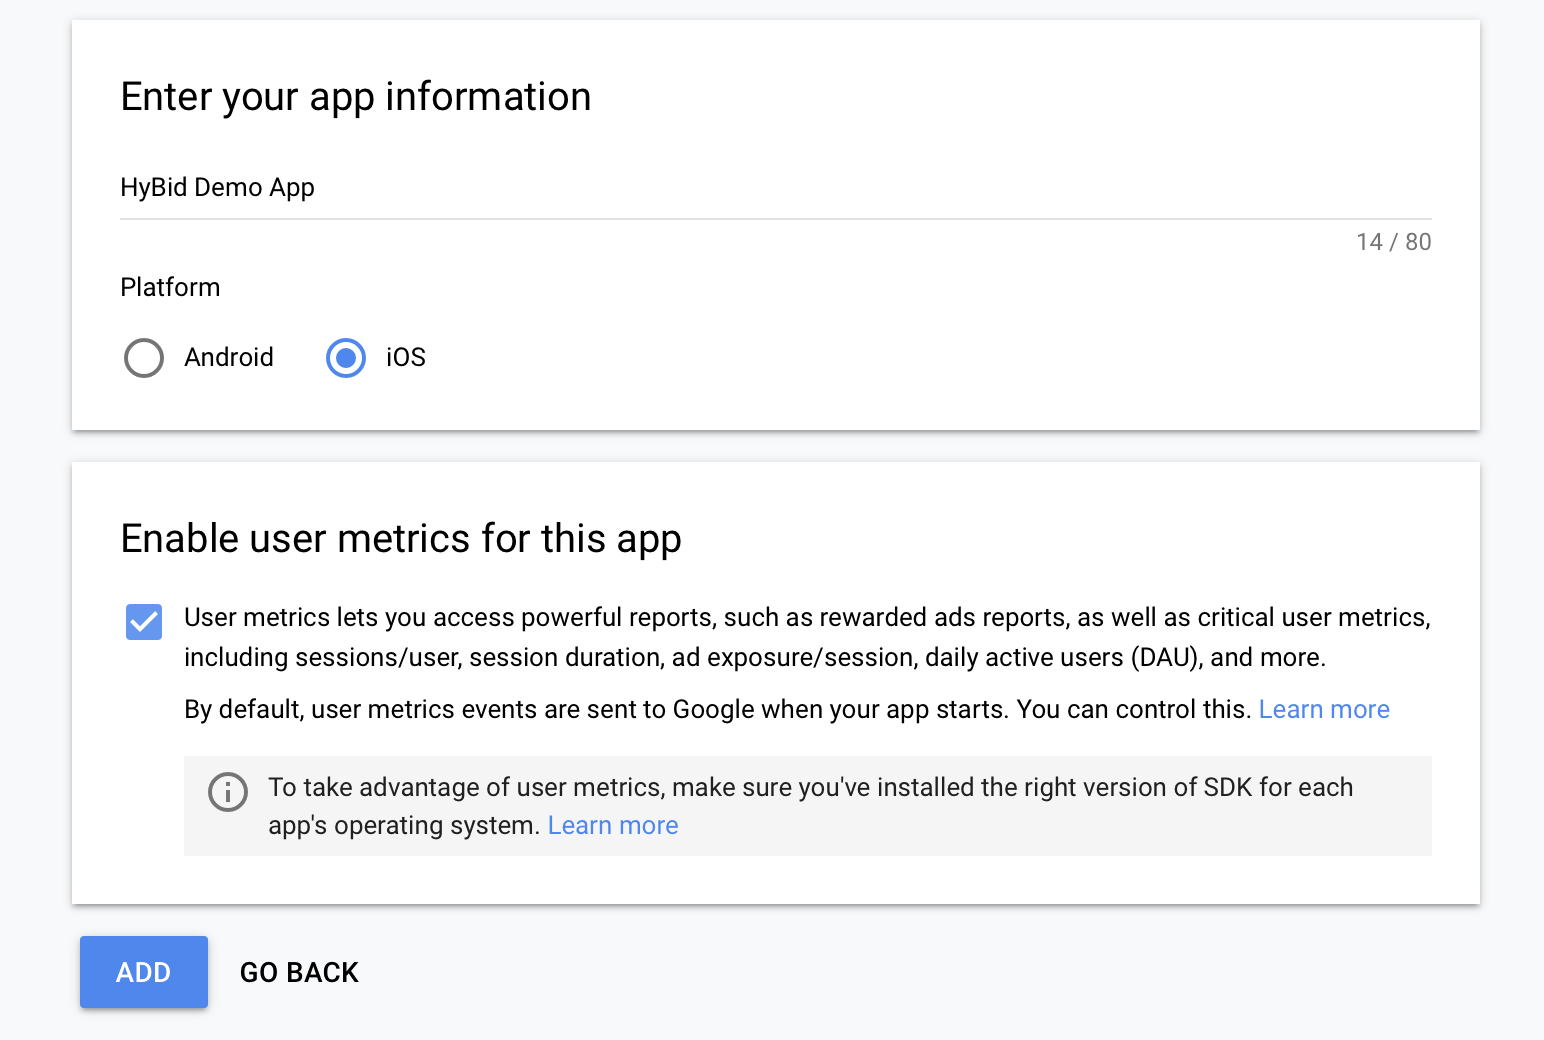
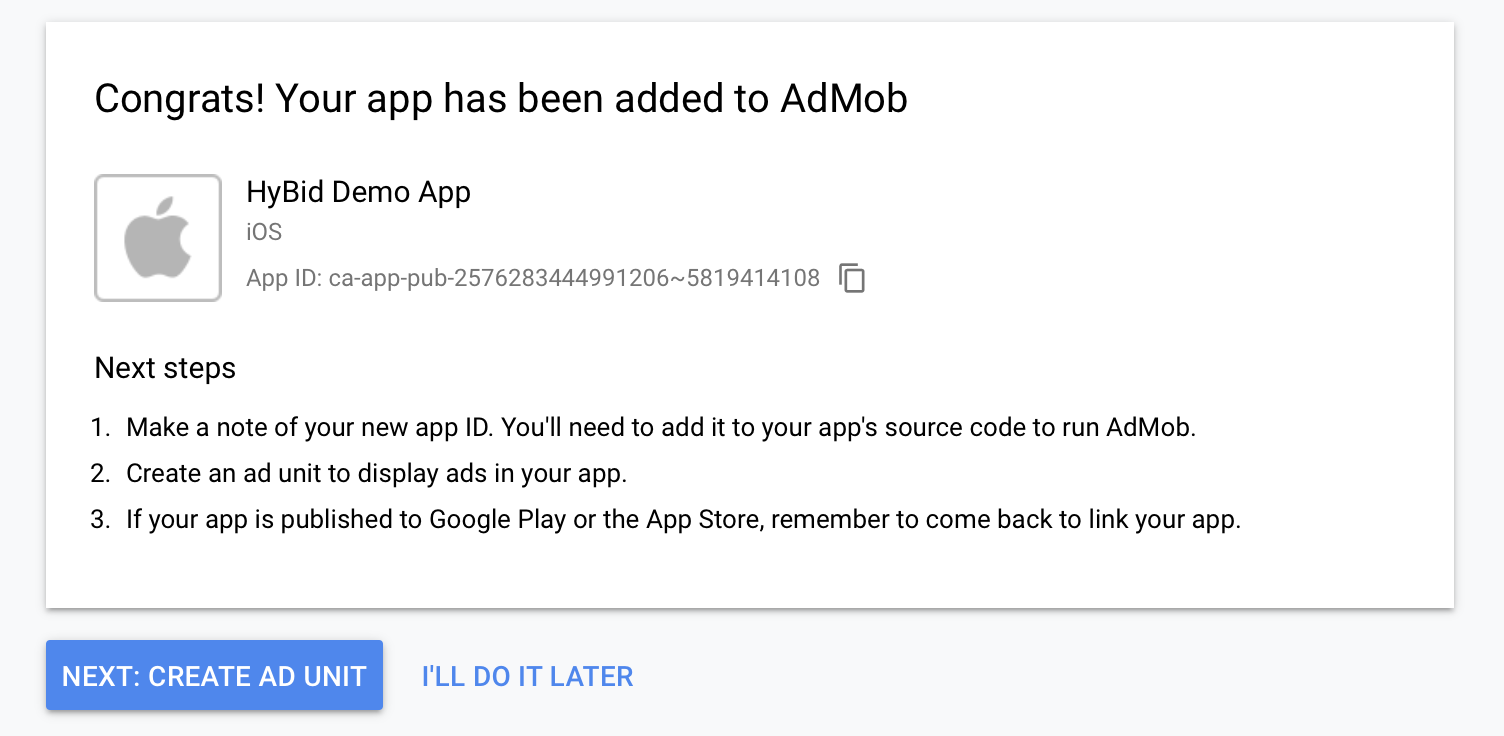
Create Banner Ad Unit
Create a new ad unit and set up the format as Banner
In GAD (AdMob), Banner, Medium Rectangle and Leaderboard are all considered Banners. Therefore you use the same type of ad unit for all of them and you specify the size on the app following the GAD (AdMob) documentation instructions.
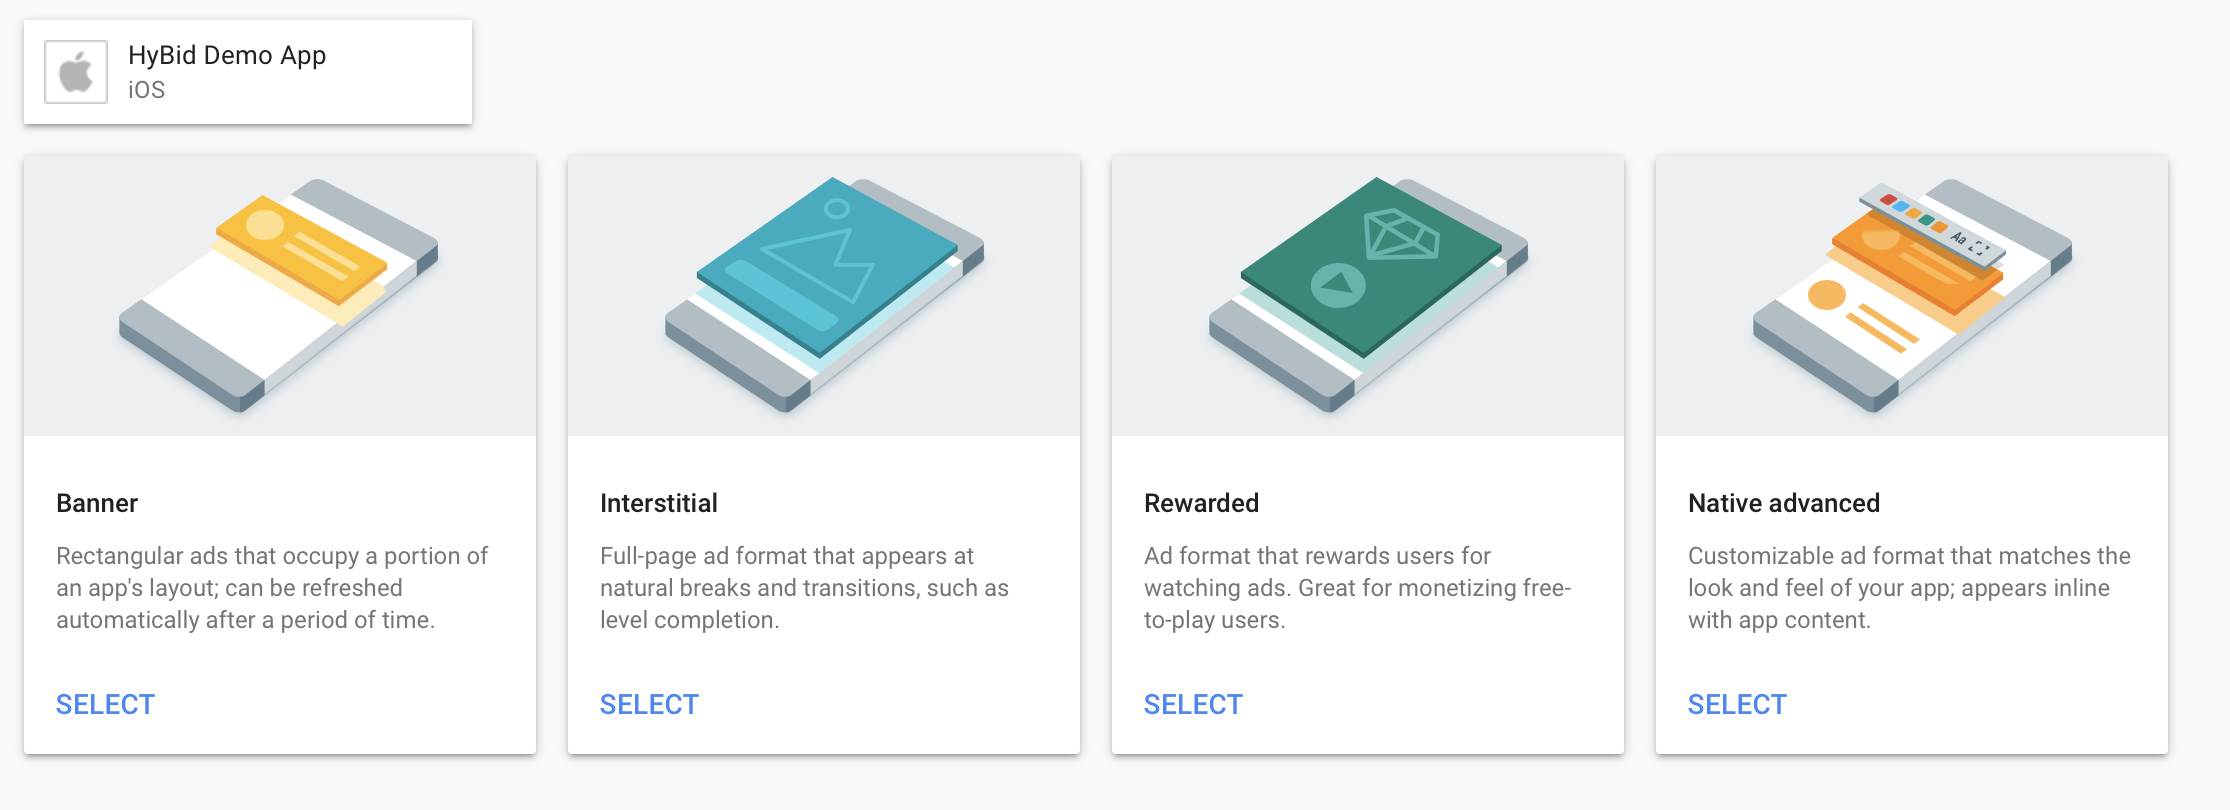

After this step, you will obtain an Ad Unit ID. Use this to request ads for this placement.
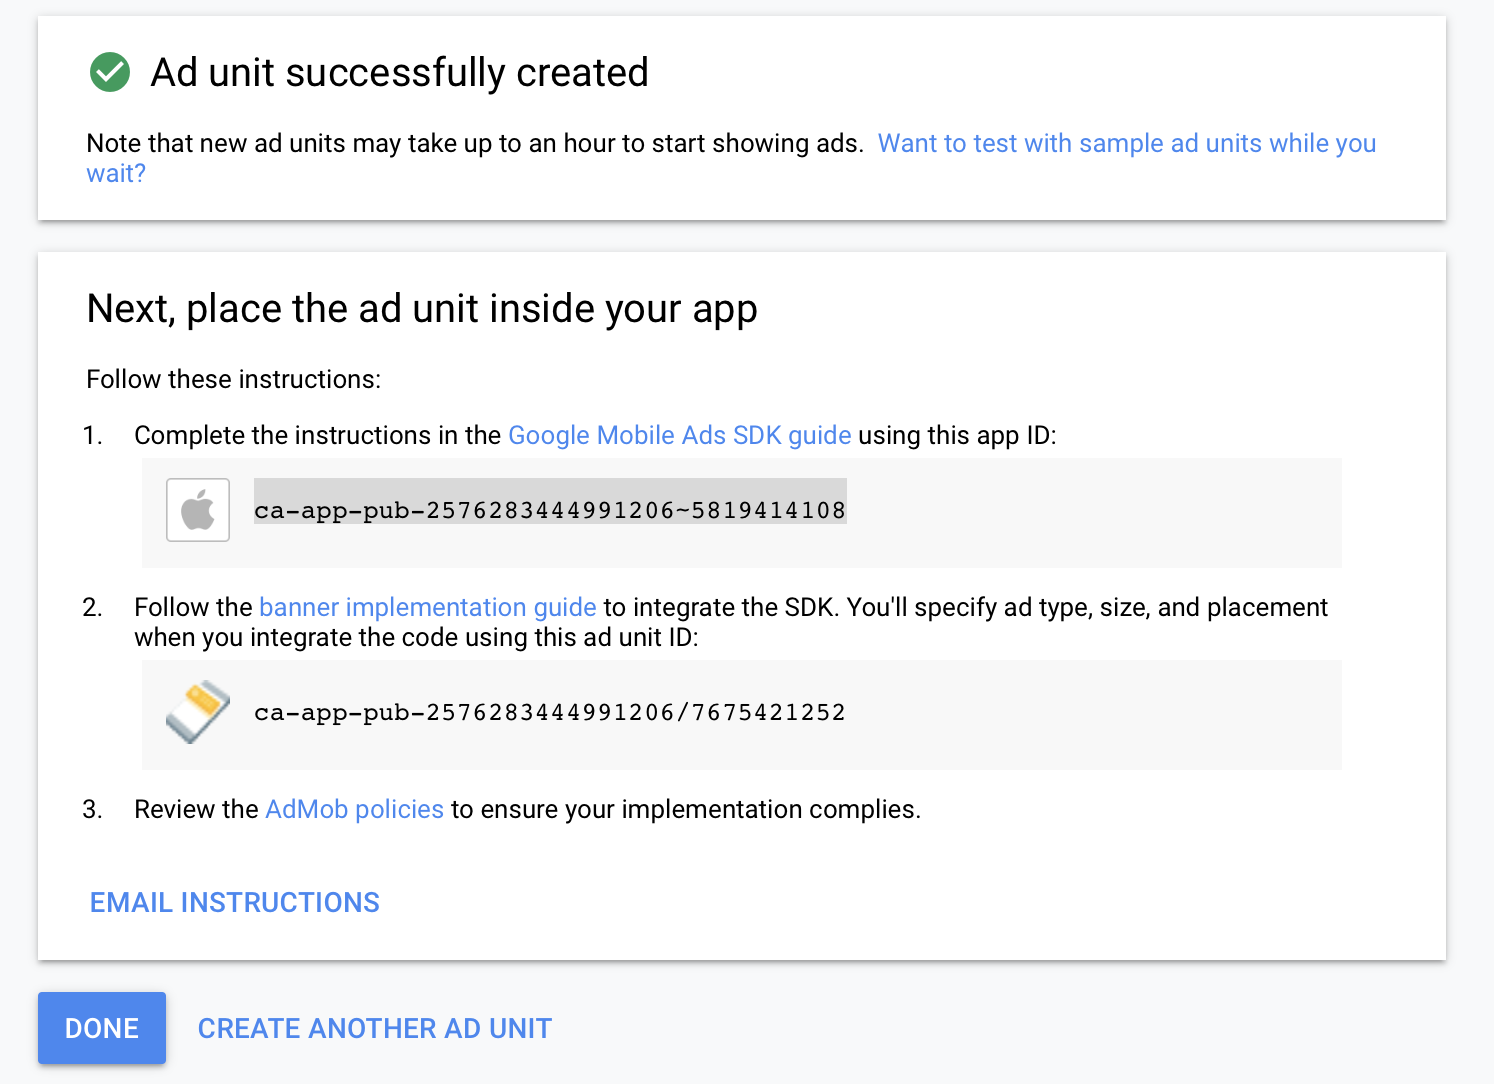
Create Interstitial Ad Unit
Create a new ad unit and set up the format as Interstitial

After this step, you will obtain an Ad Unit ID. Use this to request ads for this placement.
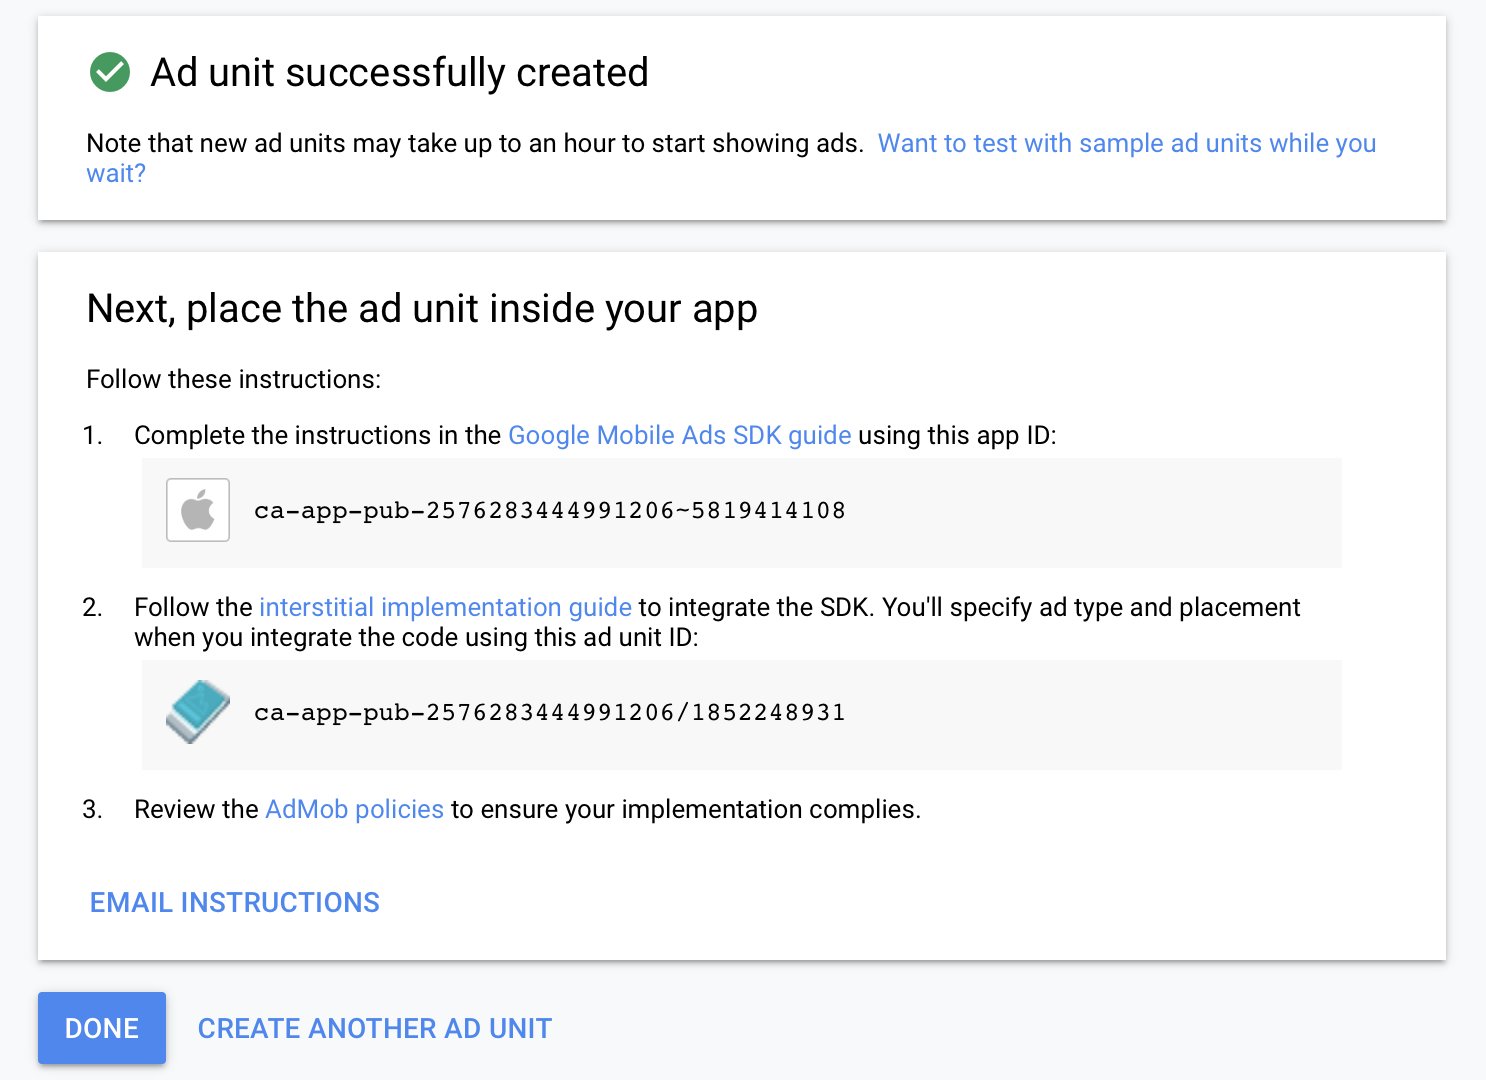
Set up Mediation for the app
Head over to the mediation section to set up the adapters for HyBid SDK.
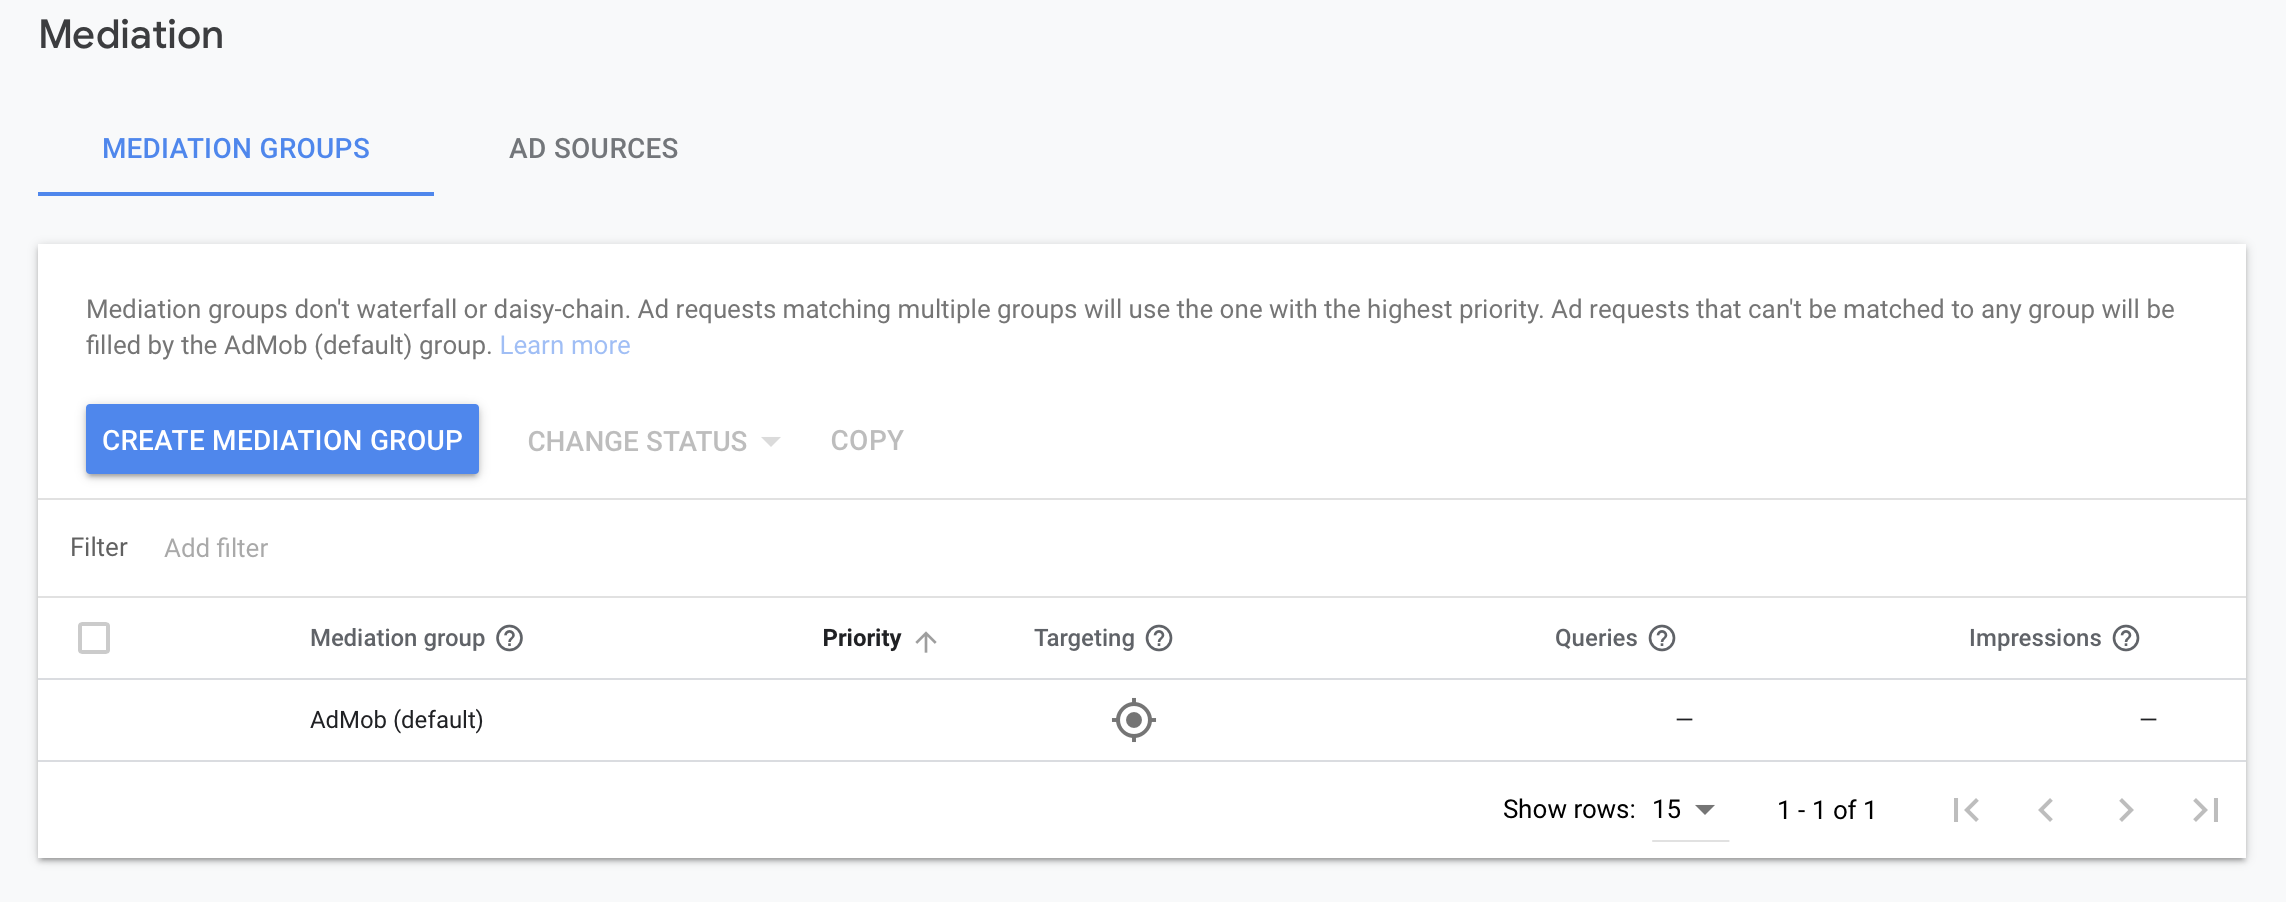
Create Mediation Group
Create a mediation group for each placement format you want to use HyBid GAD (AdMob) adapter in.

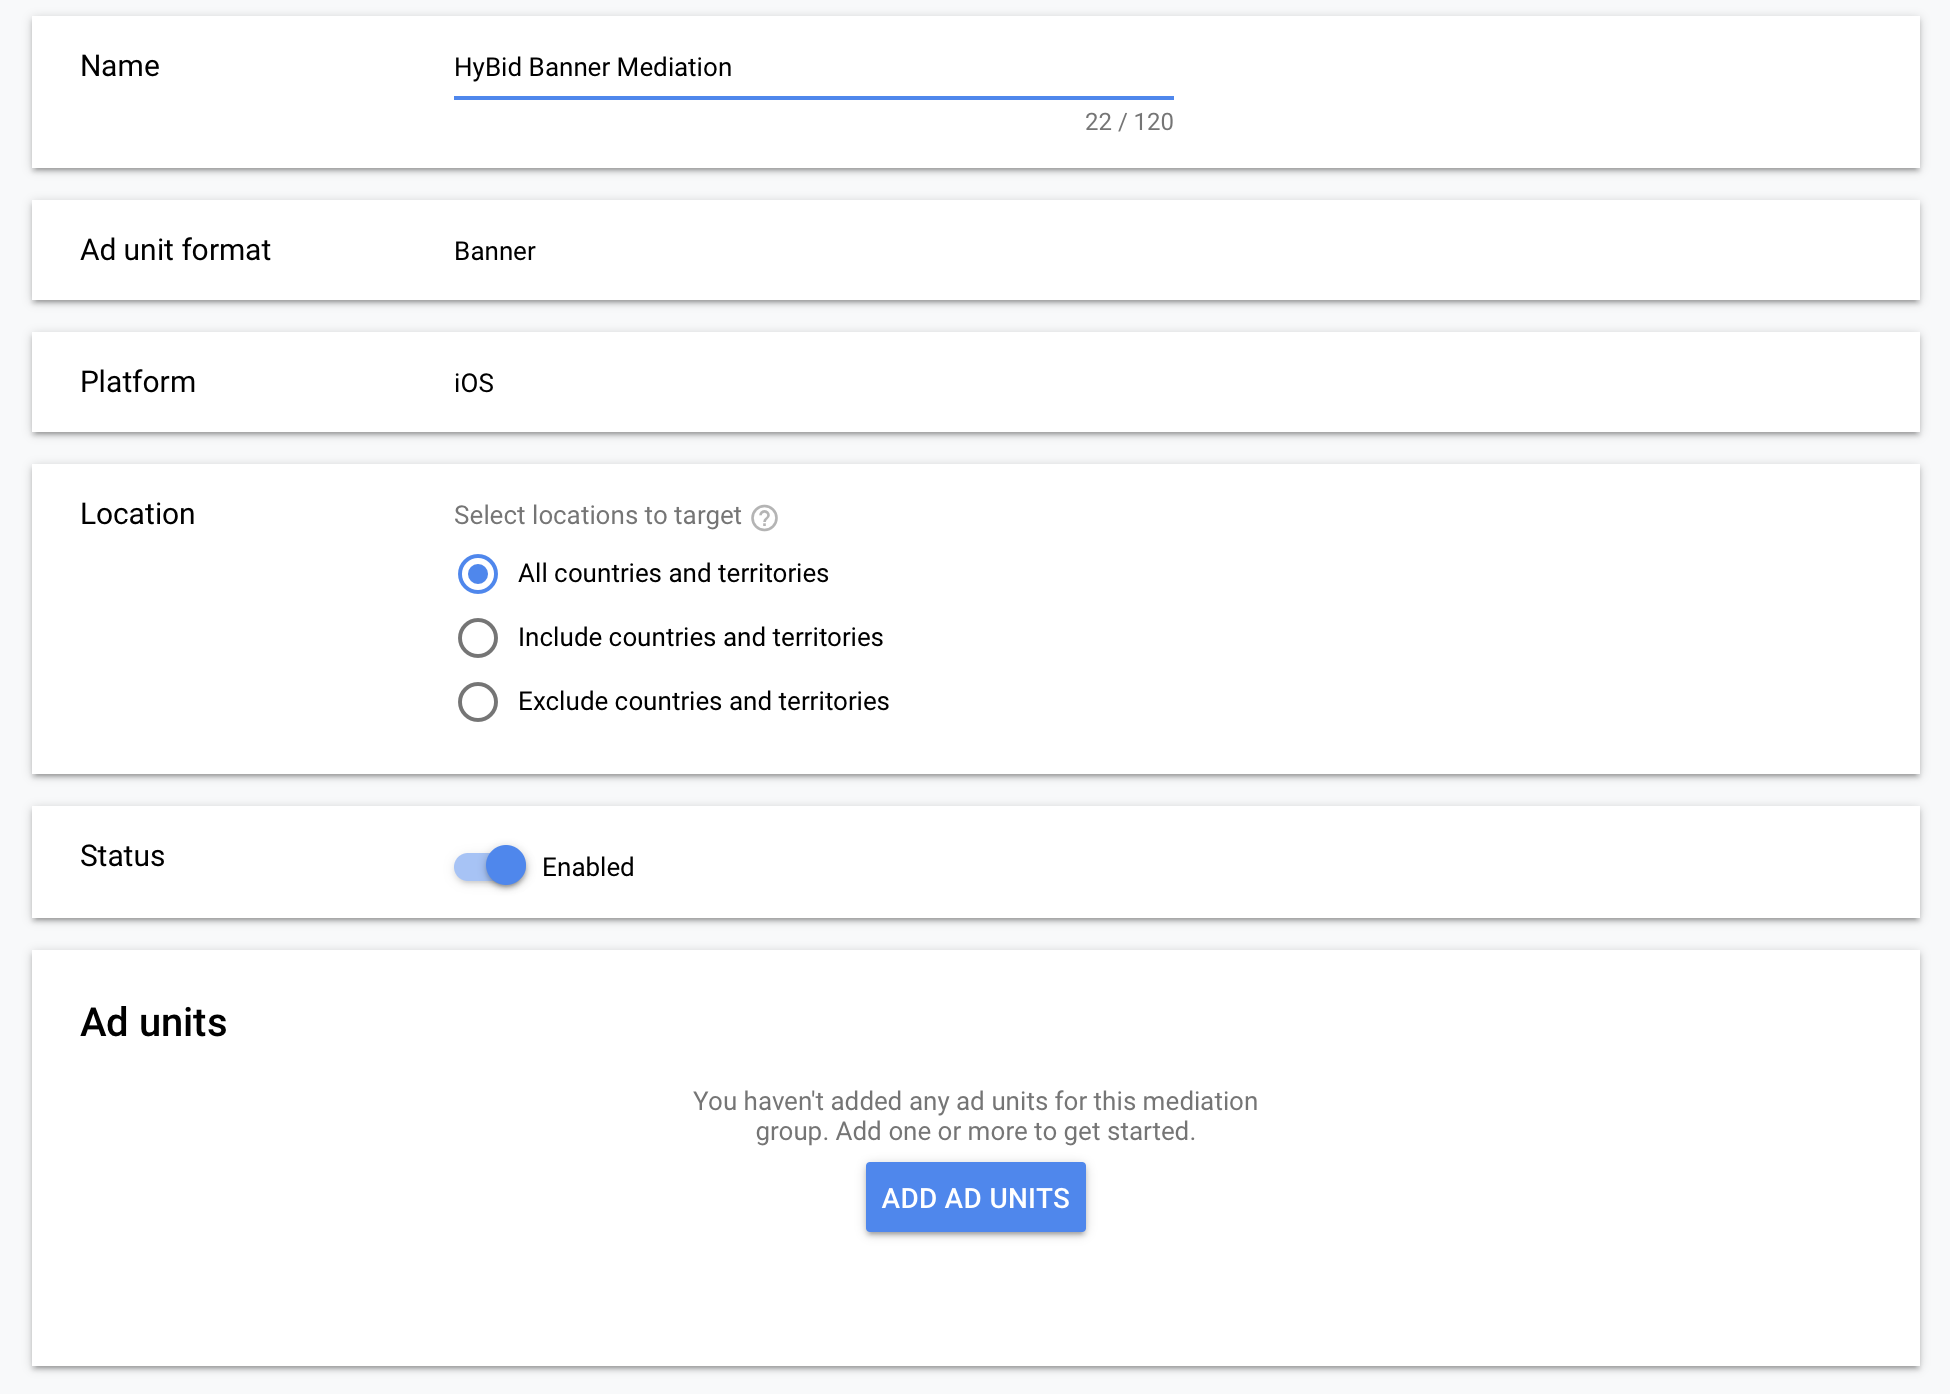
Select Ad Units
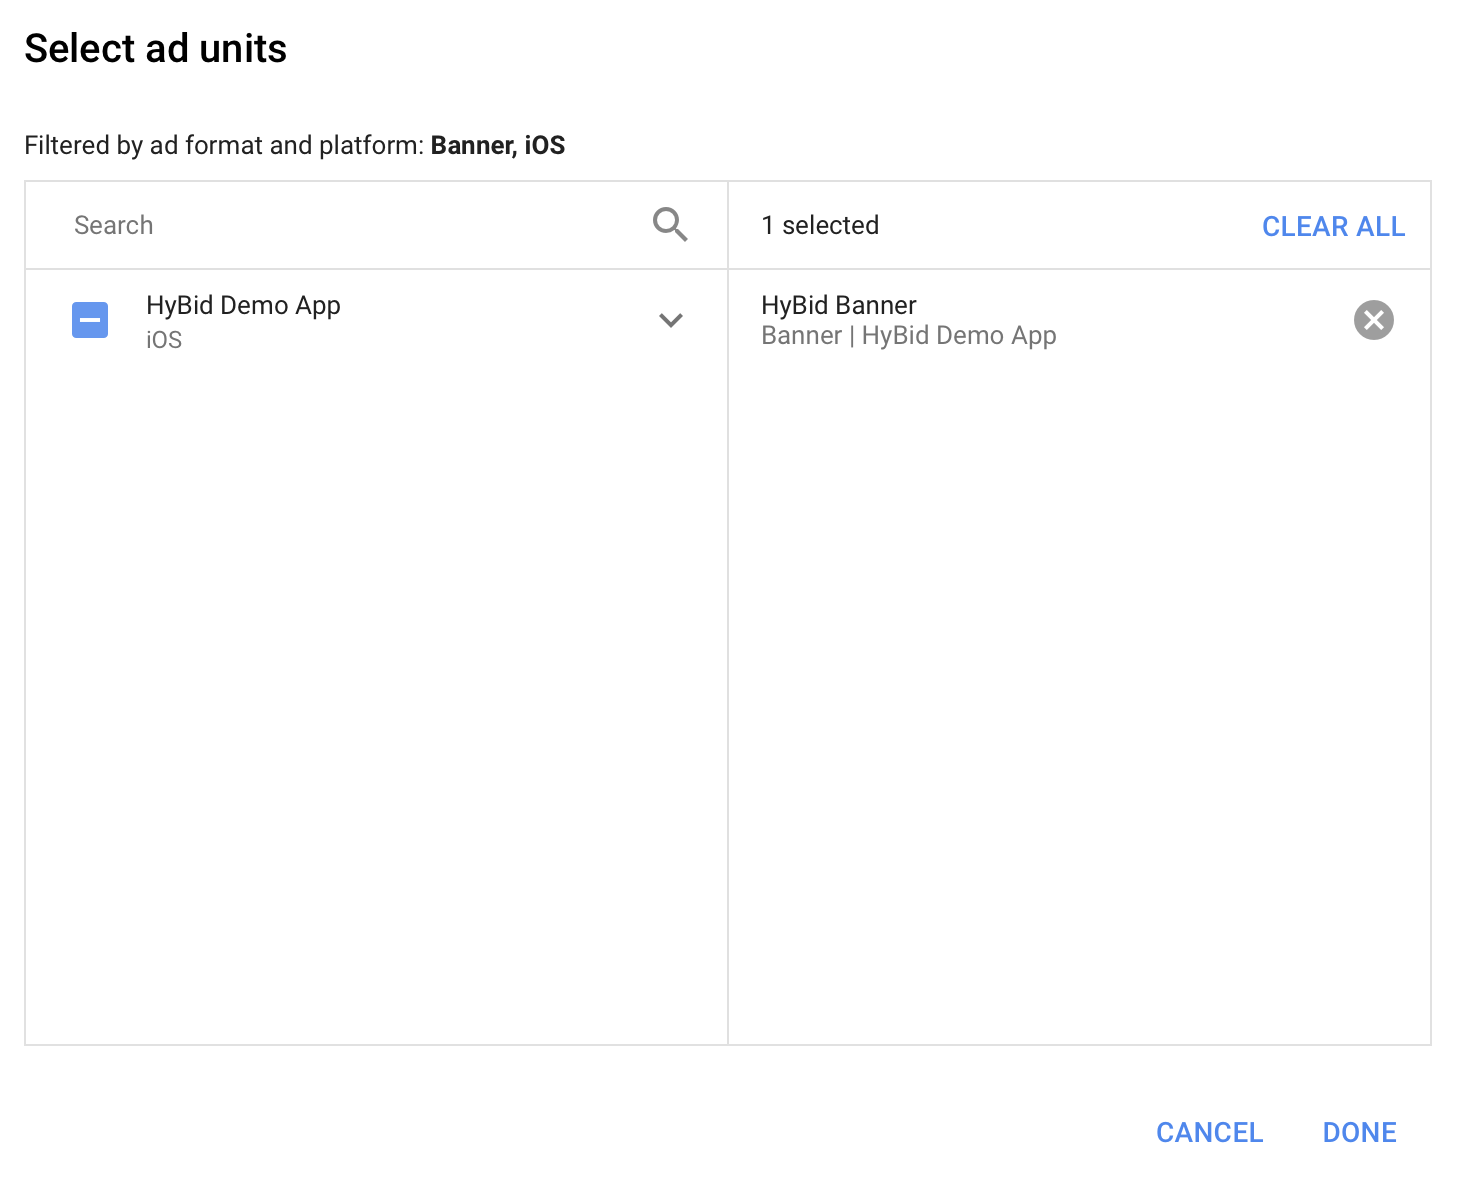
On the Ad units section of the mediation group, click on the Add ad units button to start choosing which placements you want to include this mediation group.
Remove automatic eCPM (optional)
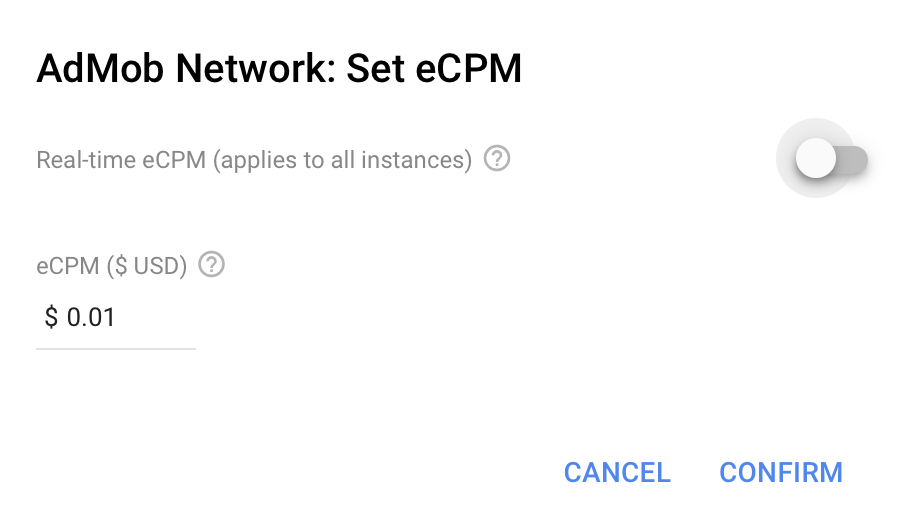
If you want to guarantee that your adapters are going to be called before the GAD (AdMob) network, you should remove the Real Time eCPM and set a price lower than the floor price of your adapters.
This is not recommended since GAD (AdMob) Network might have higher eCPMs in some cases

Create Custom Event
To create the custom events for the adapters in the mediation group, head over to the Ad Sources section and click on the Add Custom Event button
Choose a name for the custom event that easily identifies that it's a HyBid adapter.
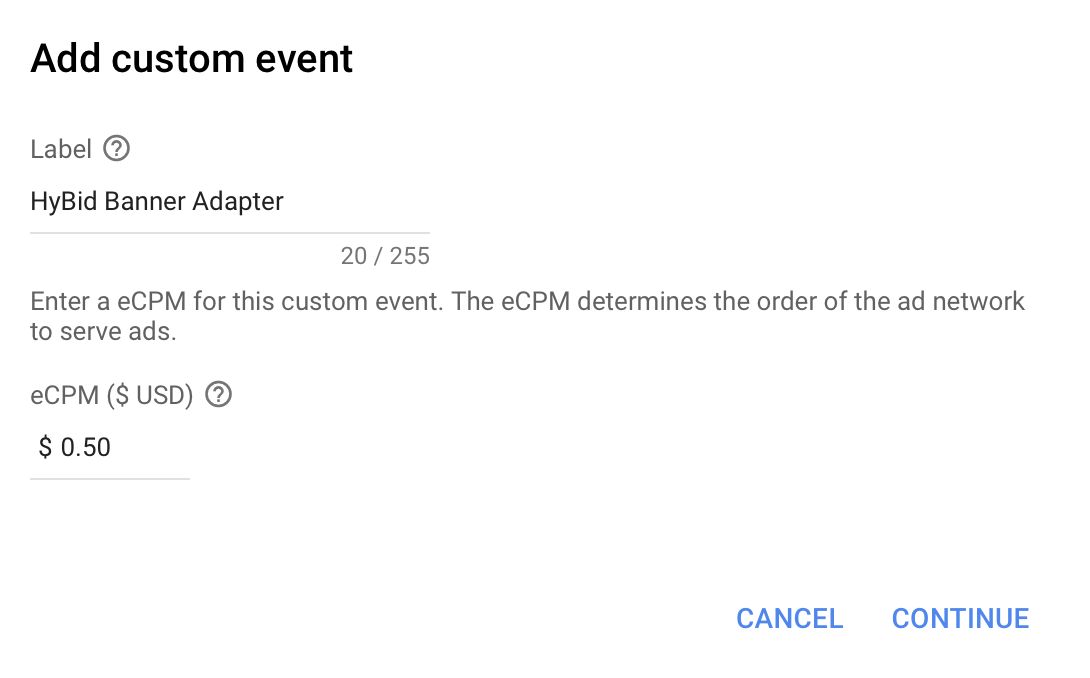
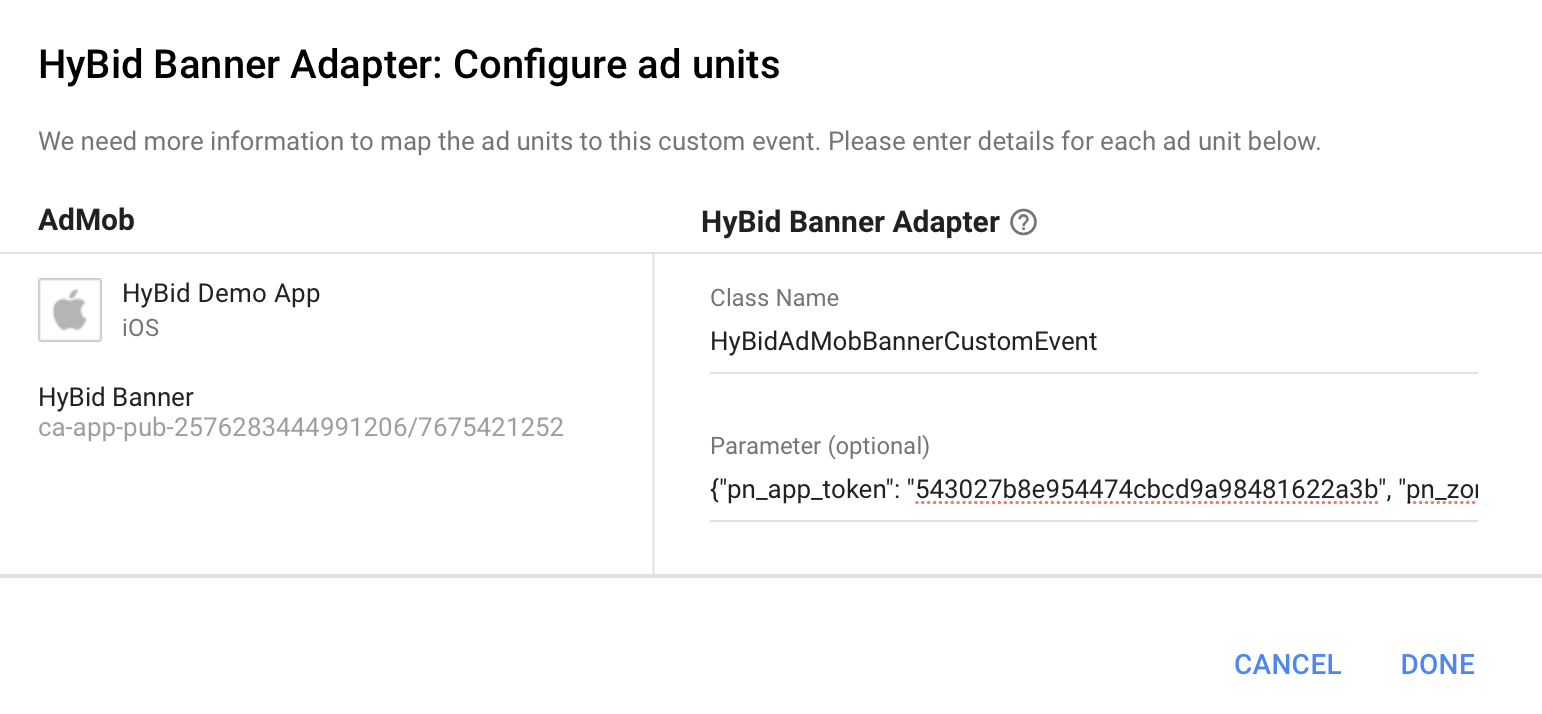
On the class name, enter the full name of the adapter you want to use, including the package name.
In this example we are setting up the banner adapter. You can see below the full list of adapters per ad format.
On the parameter section, you should add the JSON you can find below the list of adapters. Make sure to use the proper App Token and Zone ID that will serve the specific ad size you will be requesting.
Insert for each format the following custom event names and params:
For Google Mobile Ads SDK Pre v:8.0.0;
- Custom event for Leaderboard:
HyBidAdMobMediationLeaderboardCustomEvent - Custom event for Banner:
HyBidAdMobMediationBannerCustomEvent - Custom event for MRect:
HyBidAdMobMediationMRectCustomEvent - Custom event for Interstitial:
HyBidAdMobMediationInterstitialCustomEvent - Custom event for Rewarded:
HyBidAdMobMediationRewardedCustomEvent
For Google Mobile Ads SDK v:8.0.0 and above;
- Custom event for Leaderboard:
HyBidGADLeaderboardCustomEvent - Custom event for Banner:
HyBidGADBannerCustomEvent - Custom event for MRect:
HyBidGADMRectCustomEvent - Custom event for Interstitial:
HyBidGADInterstitialCustomEvent - Custom event for Rewarded:
HyBidGADRewardedCustomEvent
Parameters to set up:
{
    "pn_app_token": "<YOUR PUBNATIVE APP TOKEN>",
    "pn_zone_id": "<YOUR PLACEMENT ZONE ID>"
}
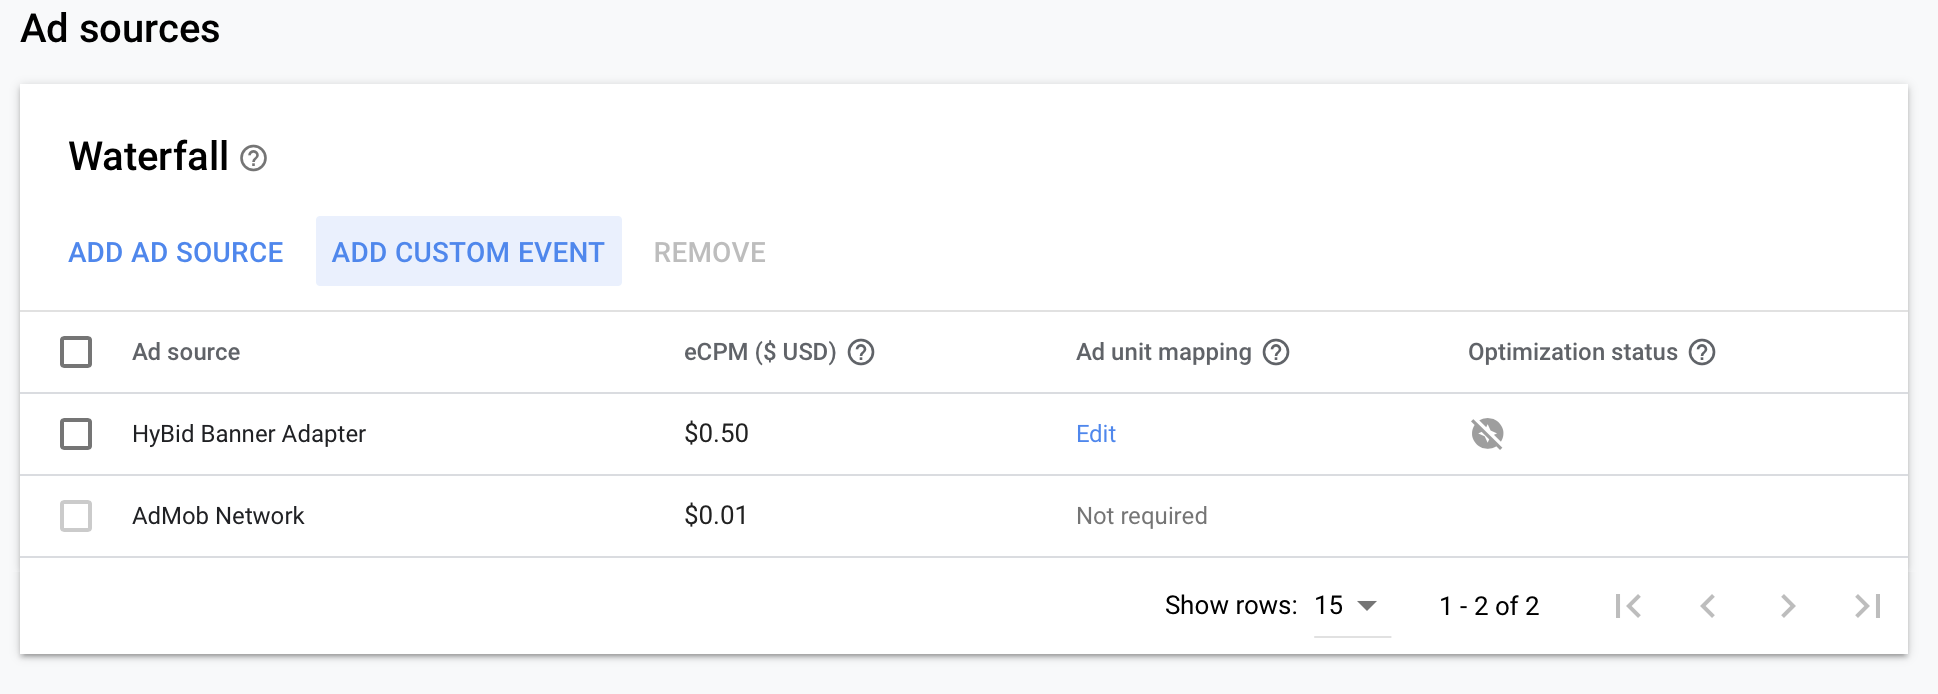
After setting up your ad sources, you should be able to see the waterfall order for the selected ad units
Request Ads
Ads should be requested using the regular GAD (AdMob) process using the generated Ad Unit IDs. You can find the instructions in the GAD (AdMob) developers page.
Initialization
Please note: to complete implementation, the HyBid SDK needs to be initialized. Follow the HyBid integration guide and complete this step.
